1930s wool crepe gown
Boy do I wish I’d written my notes on this much closer to when I finished the gown (back in March). Here goes.
The pattern I picked up at a lovely local antique store, Indefinite Article. They had two beautiful true 1930s patterns in the store at the time, for roughly $30 each, and while they were certainly worth it to me at that price, I was also a student at the time and needed to be cognizant of spending, so I only bought this pattern.
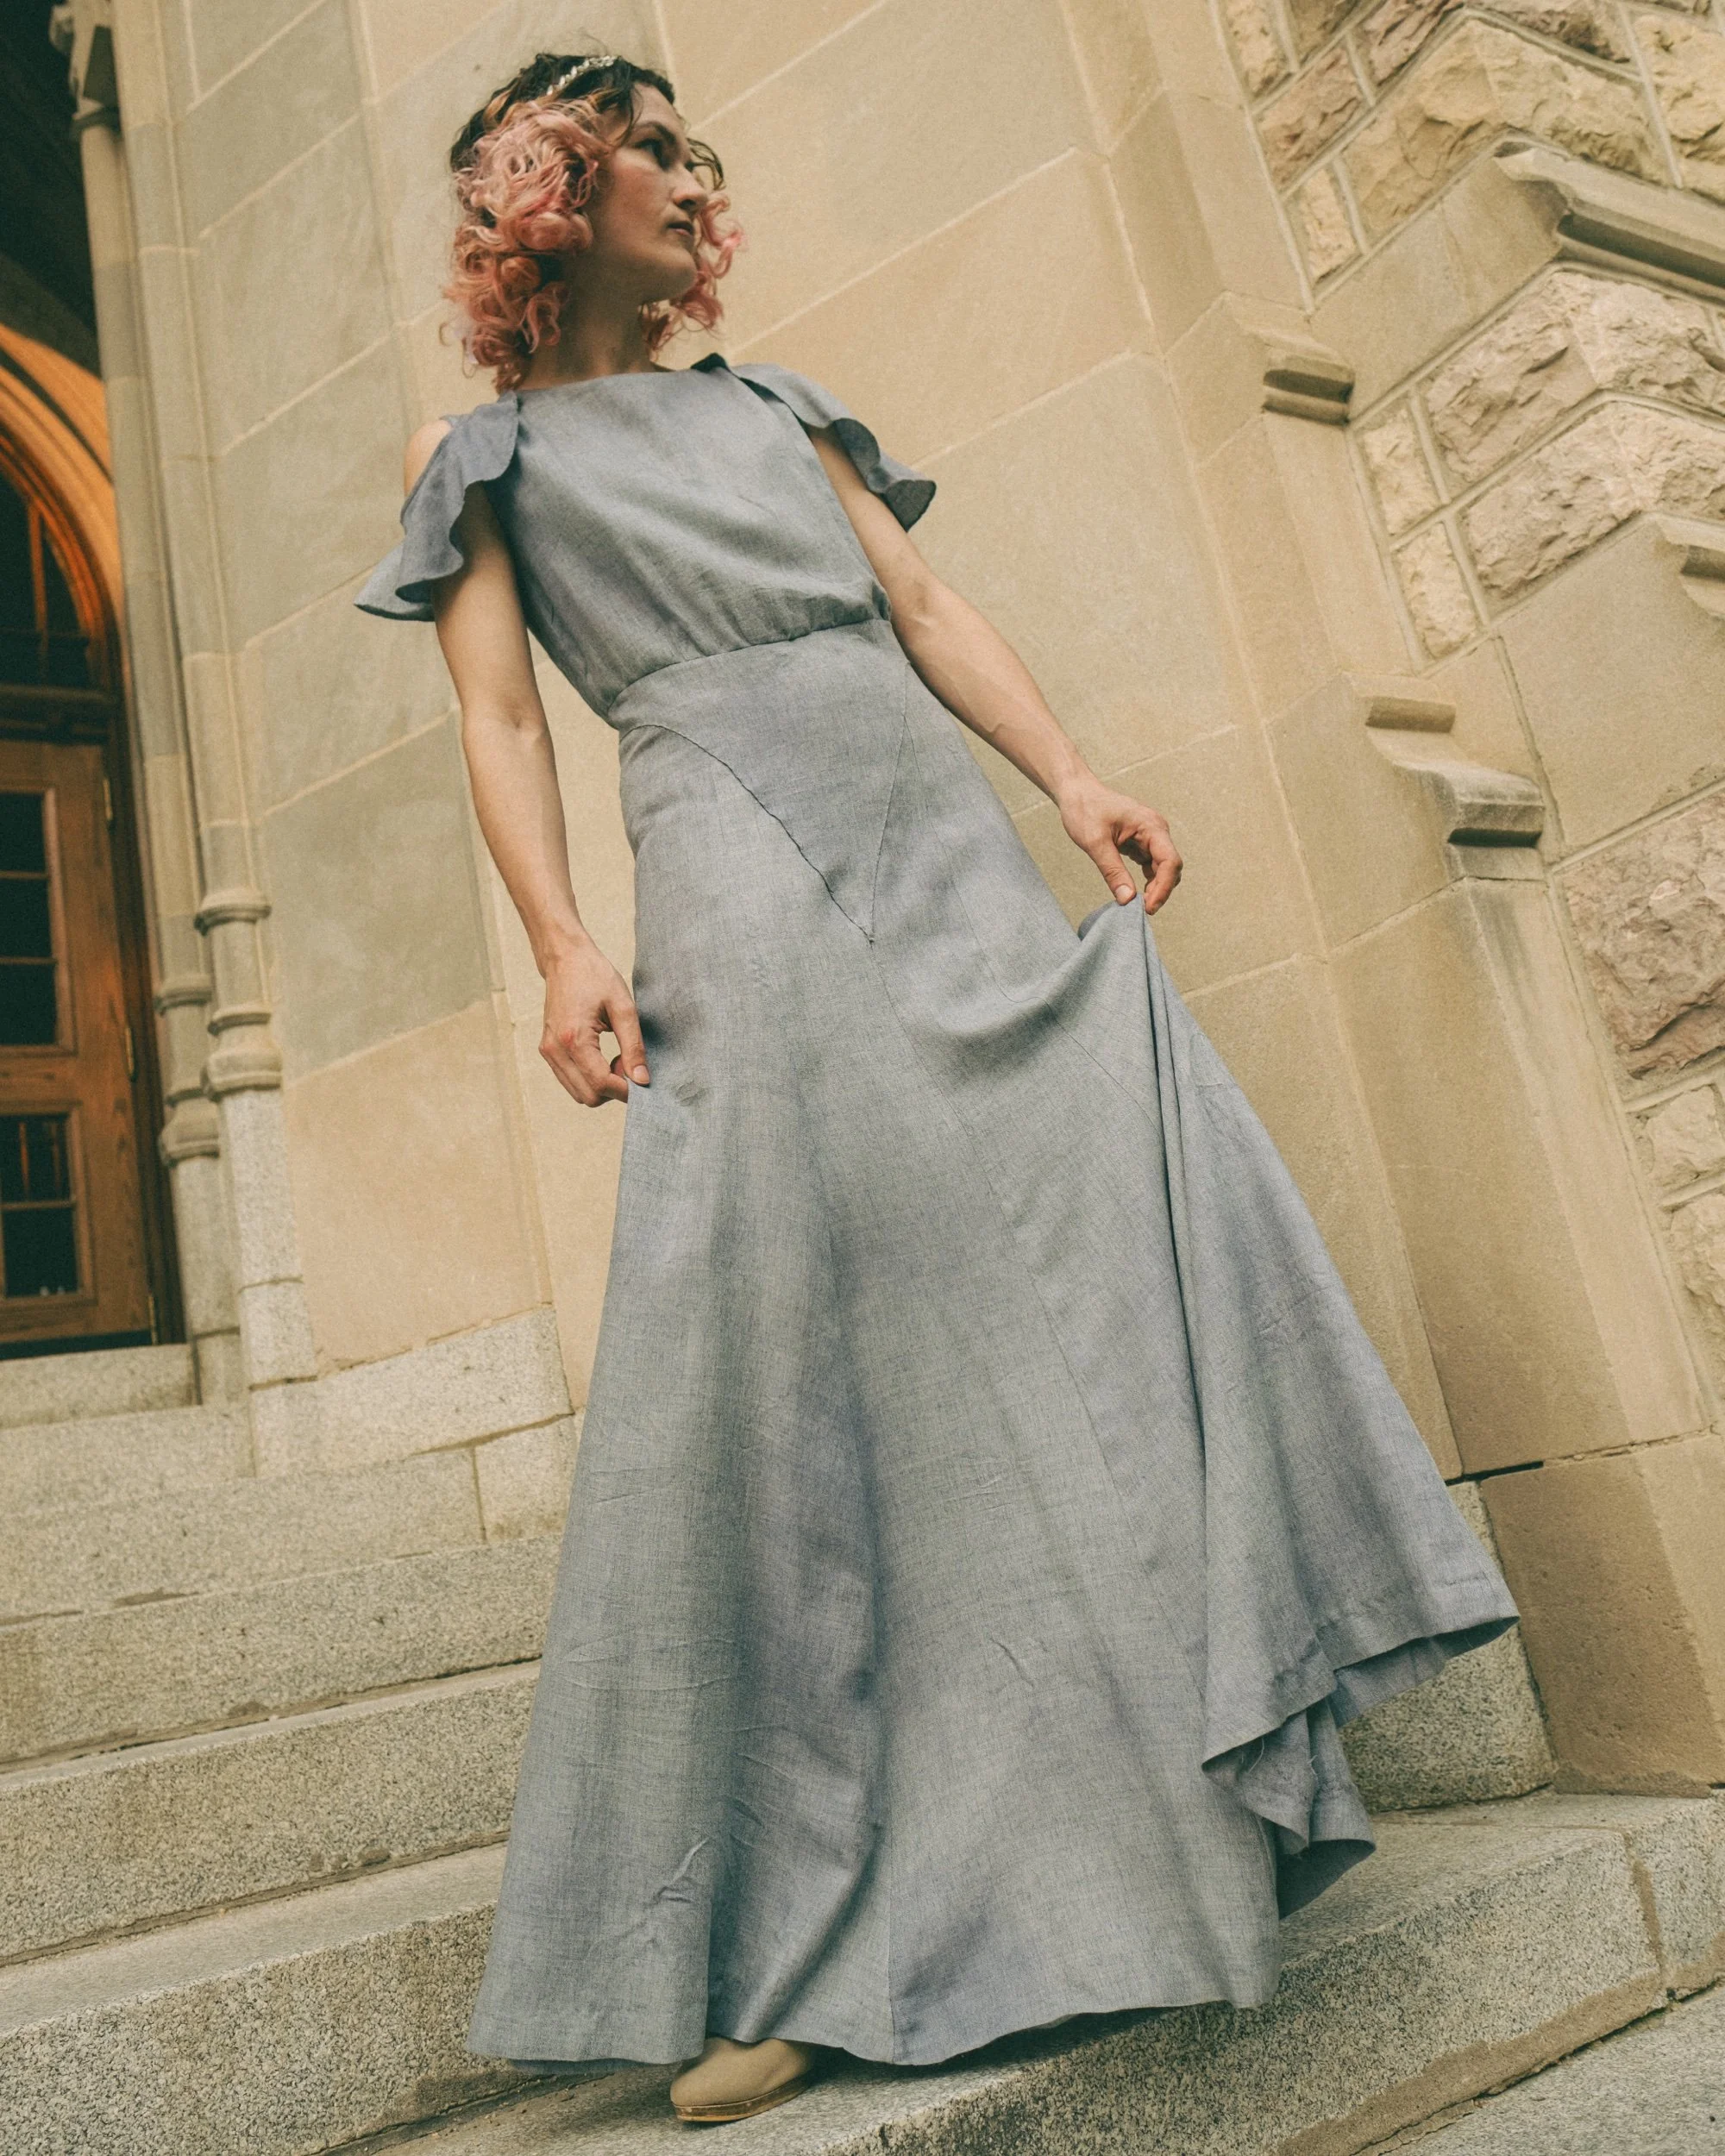
victoria sitting on green steps wearing grey-blue gown
I do not have a tonne of places and occasions to wear gowns, so I decided to make this for my most reliable opportunity: the Remai Modern’s Lugo gala. The theme this year was “Light,” so I wanted to incorporate a light element into my outfit. I decided eventually to build a simple fiber optic whip to spill out the dress, with the battery/light source to be hidden by the blousey top.
I also wanted to keep the garment somewhat period accurate in terms of fabric, so I selected a cream wool crepe (a wool crepe mystery blend, as it turns out, but I realized that later) from Our Social Fabric. I ordered a whopping 5 meters (felt like tonnes to me, lol), which came in a 2m length and a 3m length (the idiosyncrasies of textile waste diversion deadstock stores). But for the whip element to be reasonably well disguised, and to be on 1930s trend… I wanted to dye the fabric a much darker blue.
Medical paper- rolled yardage setting on steam pot (i use a devoted pot!)
I really hemmed and hawed about the best way to dye this fabric, given that I would be working with mixed fibres and a good amount of wool and I did not want the fabric to felt. I leaned quite heavily on this blog post from la bricoleuse to come up with approach. I ultimately landed on RIT dye, which I put in the bath in room-temperature water. I think I had it sit for an hour but I don’t know anymore. I’m fairly certain the combo was two parts navy blue to one part royal blue, aiming for an evening sky sort of tone. To set the dye, I rolled it with some of my medical paper (usually for tracing), which was hard because those were some long lengths of fabric, and set it up on top of a pot of water, boiling. I tried to rotate the fabric regularly for even setting, but the whole operation was a little tenuous.
Twirling on granite steps. you can see the machined hem here, which i haaaate
In the end, the fabric did not come out evenly dyed, and it came out significantly lighter than I was aiming for (I got kind of perfect results on a cotton robe I also dyed with that bath and bright lovely happy blue on a purple cotton sweater I overdyed) due in large part I think to the blend part of the fabric’s composition. That said, it had an ideal greyish tone to it, which I love, so I just needed to mindful in cutting to avoid some unfortunate splotches and to use the uneven dye depth to create texture across the garment.
fit adjustments where you can see how much width i added at front on the blouse
The pattern is cut for a 34 inch bust/37 inch hip, which tends to work out a bit on the small side for my waist (no waist measurement was given). I muslined the pattern with a bit of extra room at the waist and needed to add a fair amount more to get a blousy effect to the top. I also tried muslin-ing the other sleeves, but found the poufy view 2 one, while fascinating to assemble, much too constricting on the arm and a bit more distinctly costume-y/odd to the modern eye. I didn’t ultimately build a version of the view 3 leg of mutton sleeve because of the issues I had with the fit of the pouf. The flounce was simple and I like it very much worn.
I wore the dress with “Rago High Waist Firm Shaping Panty Girdle”, which felt like the most period-appropriate modern girdle option I could easily find. On me, with this dress, I don’t actually think it does all that much shaping, but it feels very firm and keeps your posture up for sure. Fitting was also done with the girdle.
seam and edge finishes - hand whip stitched seam (top), rolled hem (upward arc), bound edge (neckline, right side)
Fitting was also useful practice with the skirt yokes, which I really wanted to look smooth and perfect. It paid off, IMO! In the test version, I did the insertion with a machine but found this looked too messy so decided to do the final version by hand basting the triangular inset in place then hand-stitching with a pick stitch. This allowed the piece to be as close to perfectly centered as possible, and kept the pillowy crepe texture intact.
As per usual, after all that, the dress itself was fairly easy to assemble, and I think I got it done in the space of a wek and a half. I didn’t finish most of the seams on this, either, given that I knew it would be a rarely-worn, and rarely hand-washed garment (making all the dye stress feel a little silly but whatever). Where I did finish seams, they are whip-stitched.
side view of dress, close up on gathering, hand stitched insert, and side closure is partially visible
close up of side snap closure
I finished the neck and armholes with self unfolded bias tape, ironed but only stitched down at the shoulder/side seams, not on the inside edge. Again, I wanted to preserve the crepe’s pillowy texture as much as possible, and honestly when I realized I wasn’t having flip-back-out issues, I called good enough good enough. The shoulder flounces are baby hand rolled hems, and man I am so proud of how much my hand-rolling has progressed since the first time!!
The dress closes with snaps on the side and as I seem to do frequently, I did it the wrong direction so the opening faces front rather than faces back. This bugs me a fair amount but I don’t think it’s all that noticeable to other people (could say the same in reverse about how much I love the hand finished bits, absolutely noone seeing the dress cares, but it matters!!).
close up front
Pattern: Simplicity 1150, circa 1930s
Size: 16 (Bust 34)
My measurements: 34 HB/FB, 30W, 39 H
Fabric: Hand-dyed wool crepe blend, originally a cream from Our Social Fabric
Notions: vintage snaps from thrift store, self bias tape, thread, navy blue and royal blue RIT dye
If there is a next time: I hope i kept the pattern alterations…. hand basting really helpful for the details here
shoes n skirt from above
