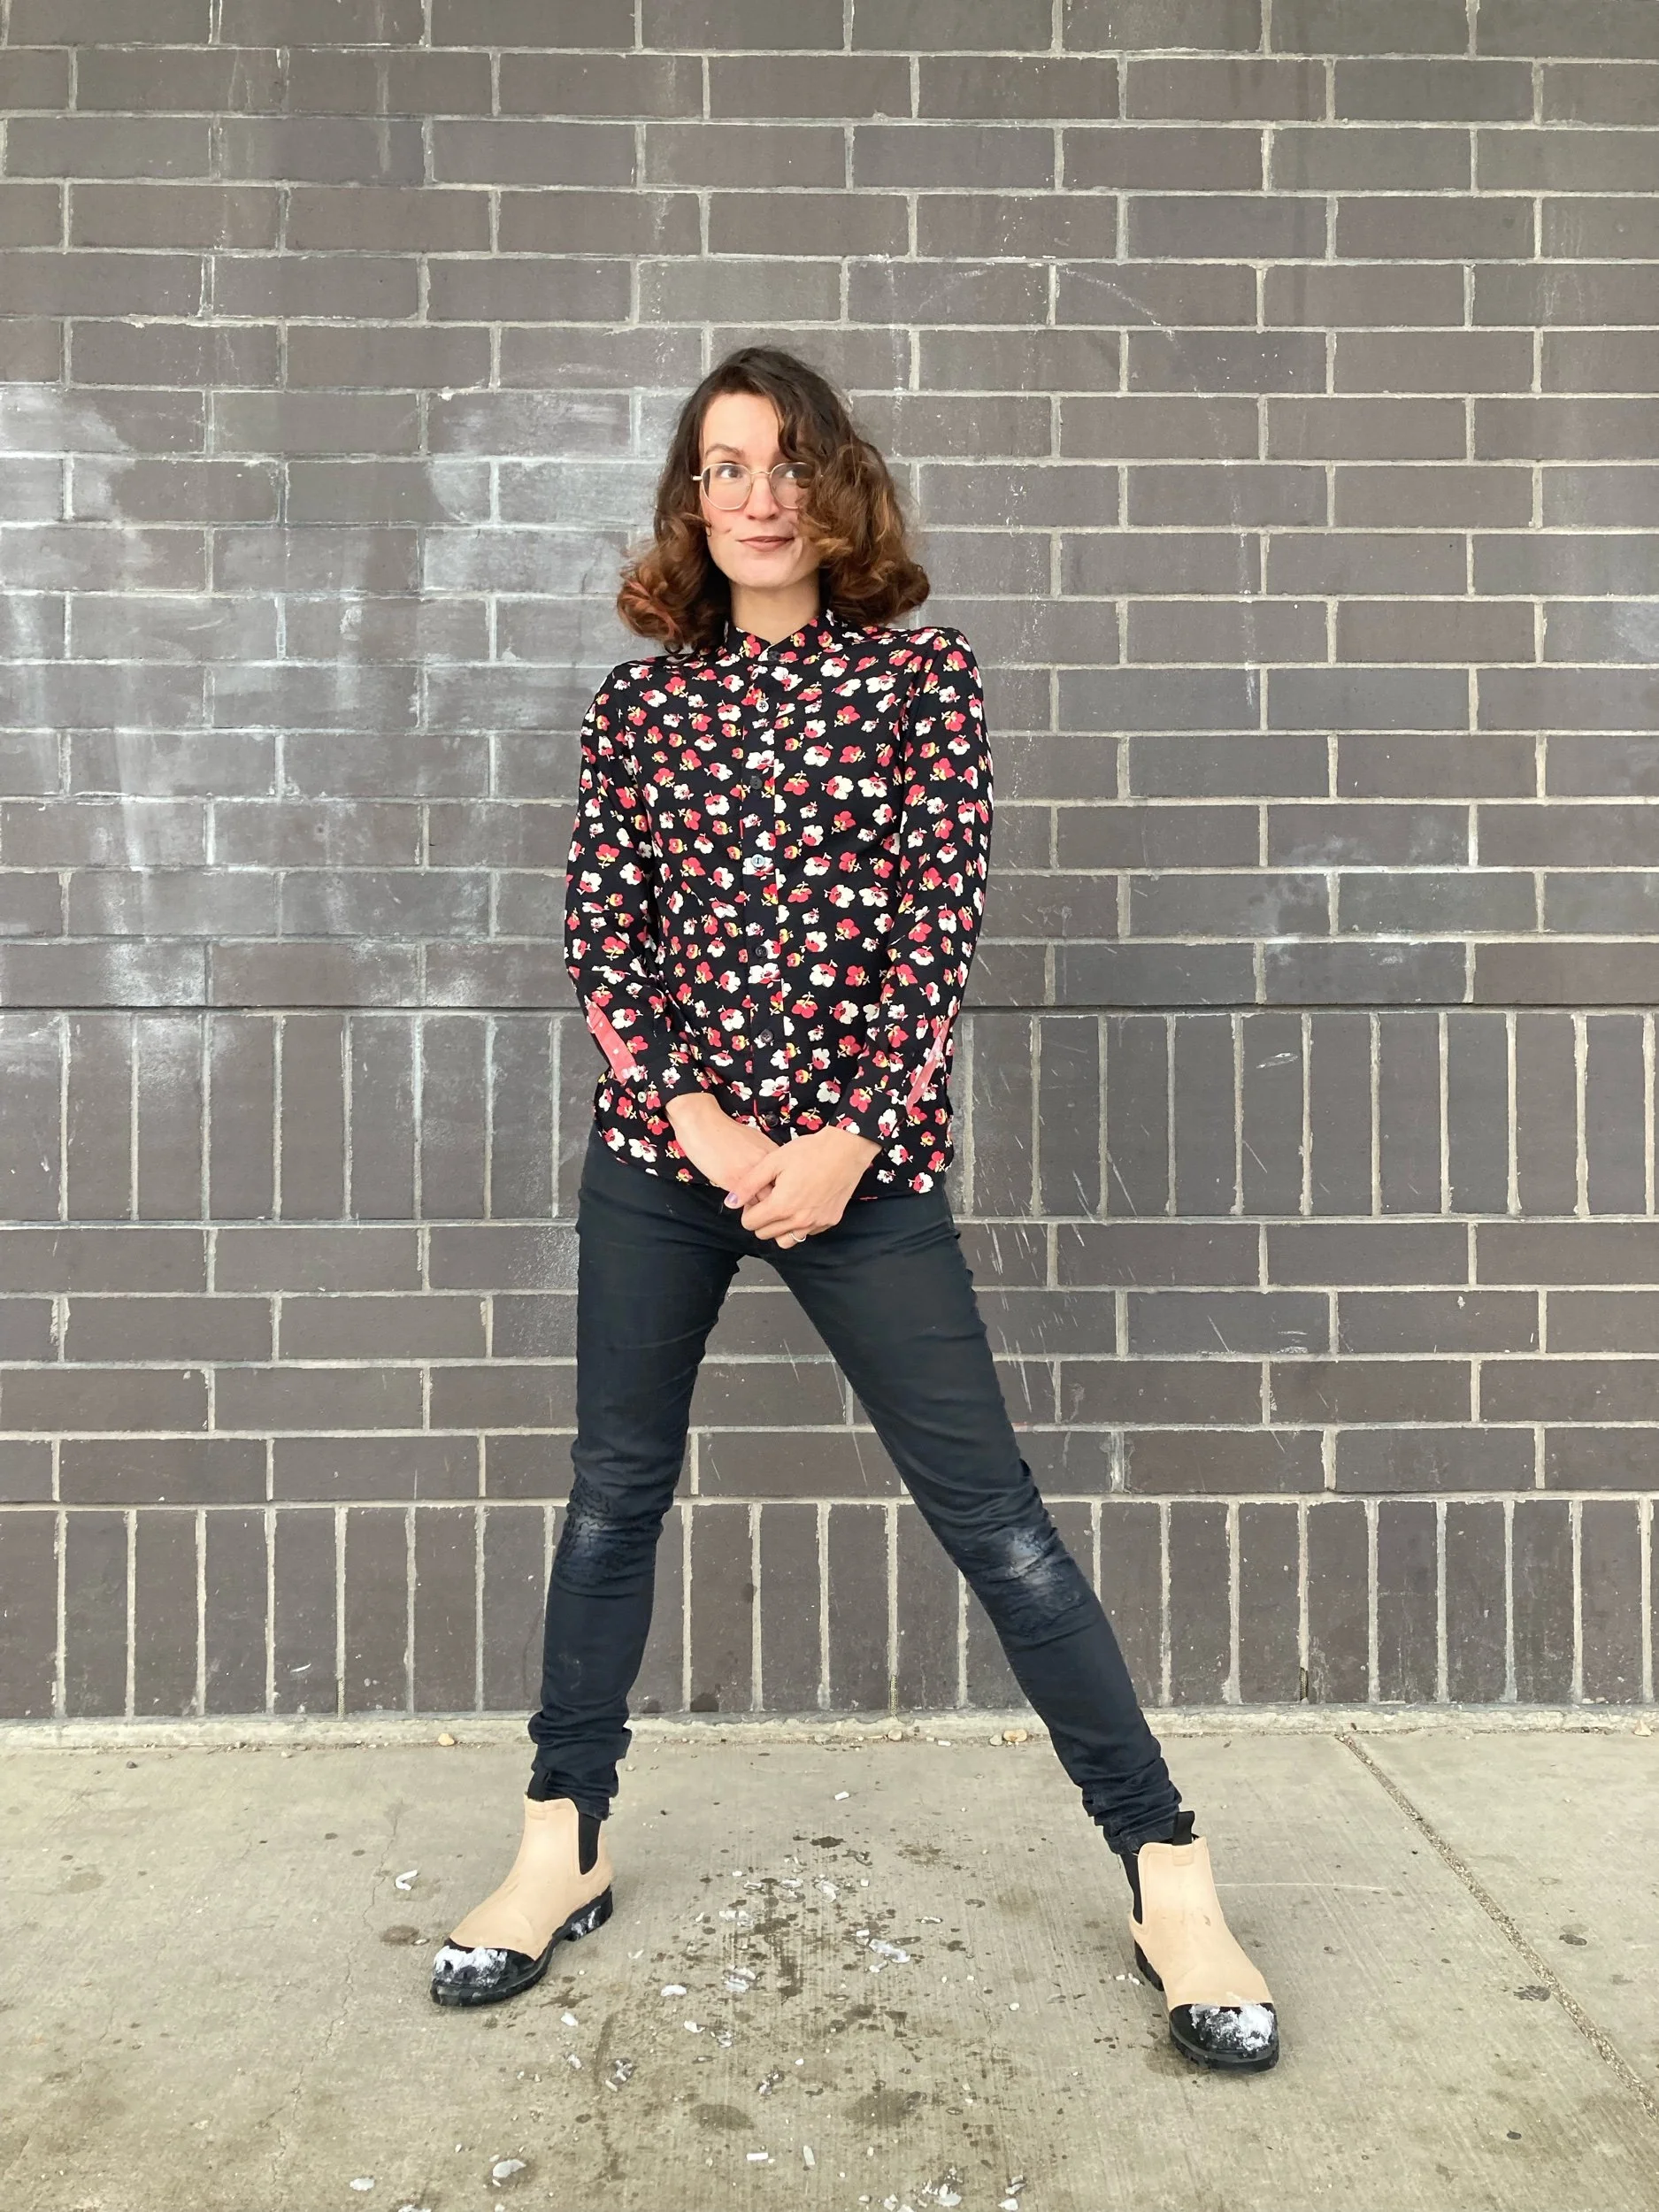
Statement(?) sleeves - buttonup shirt upcycle
We’re clearing out stuff as we prep for a move and that means lots of items that are on the not worn anymore bubble but with some form of damage that makes them non-donatable. This shirt had lipstick stains from a time i tossed it in the wash with just a full tube of lipstick, and my husband hadn’t gotten rid of it because otherwise it was a good shirt.
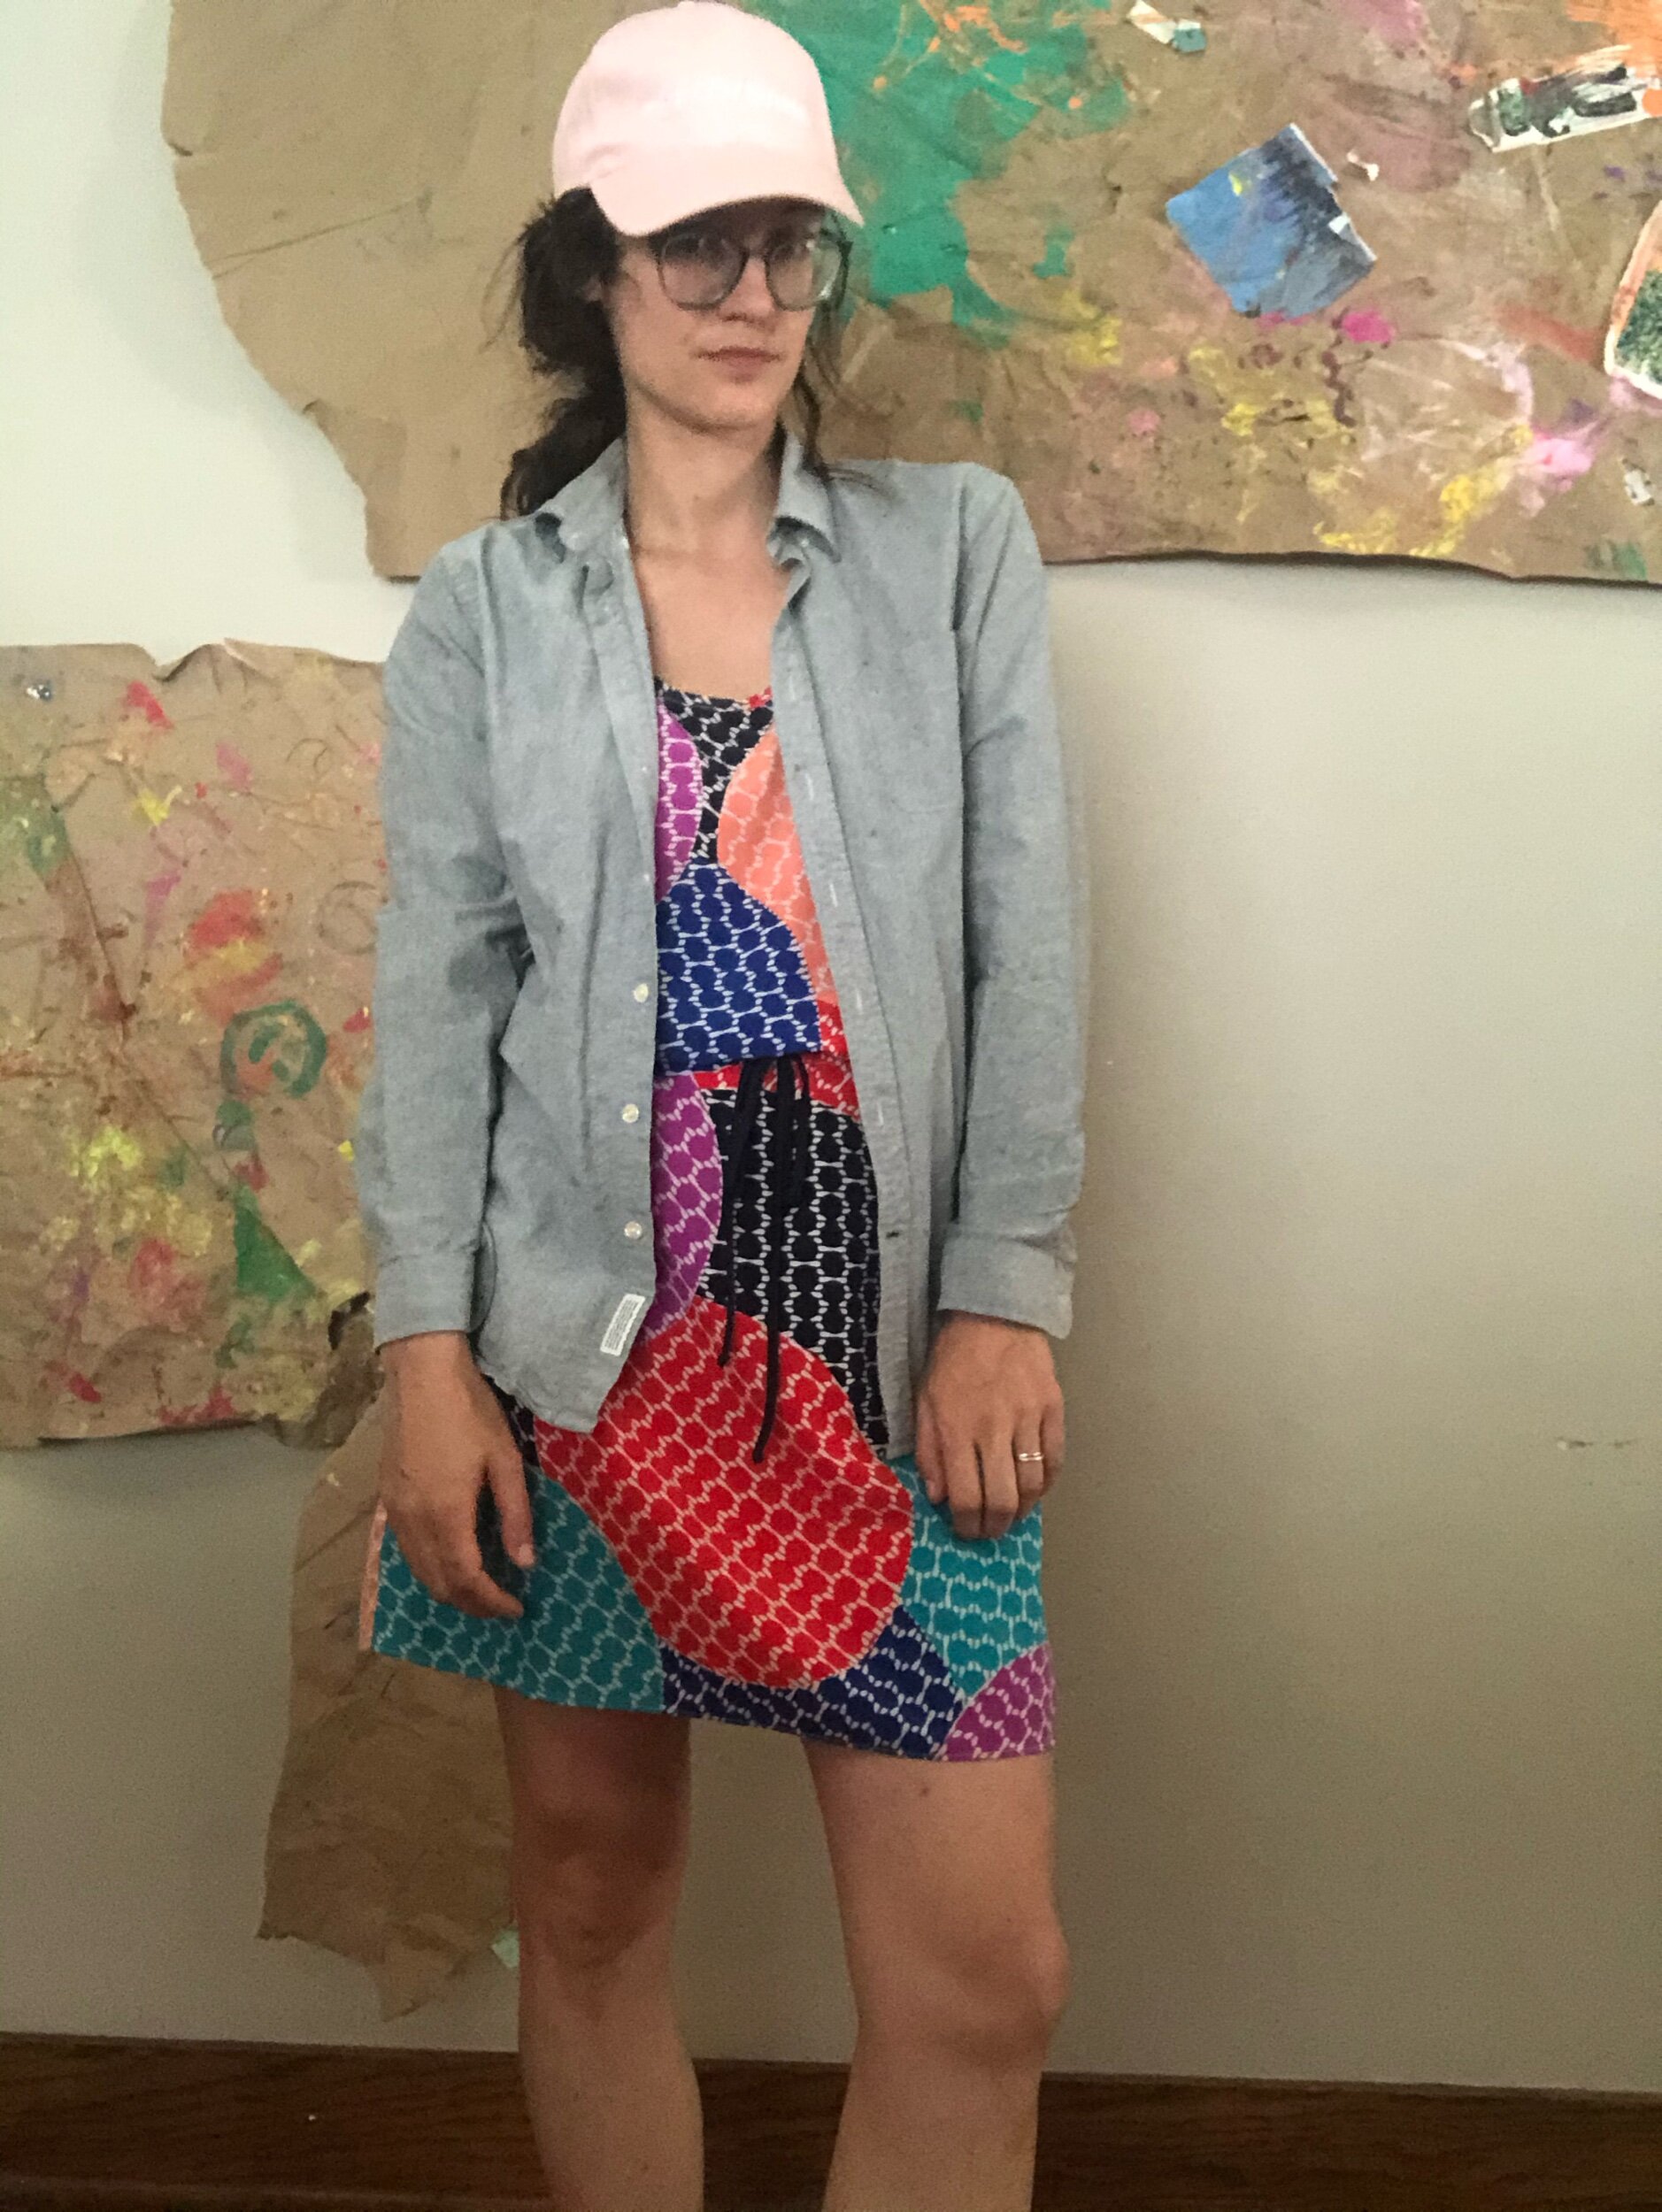
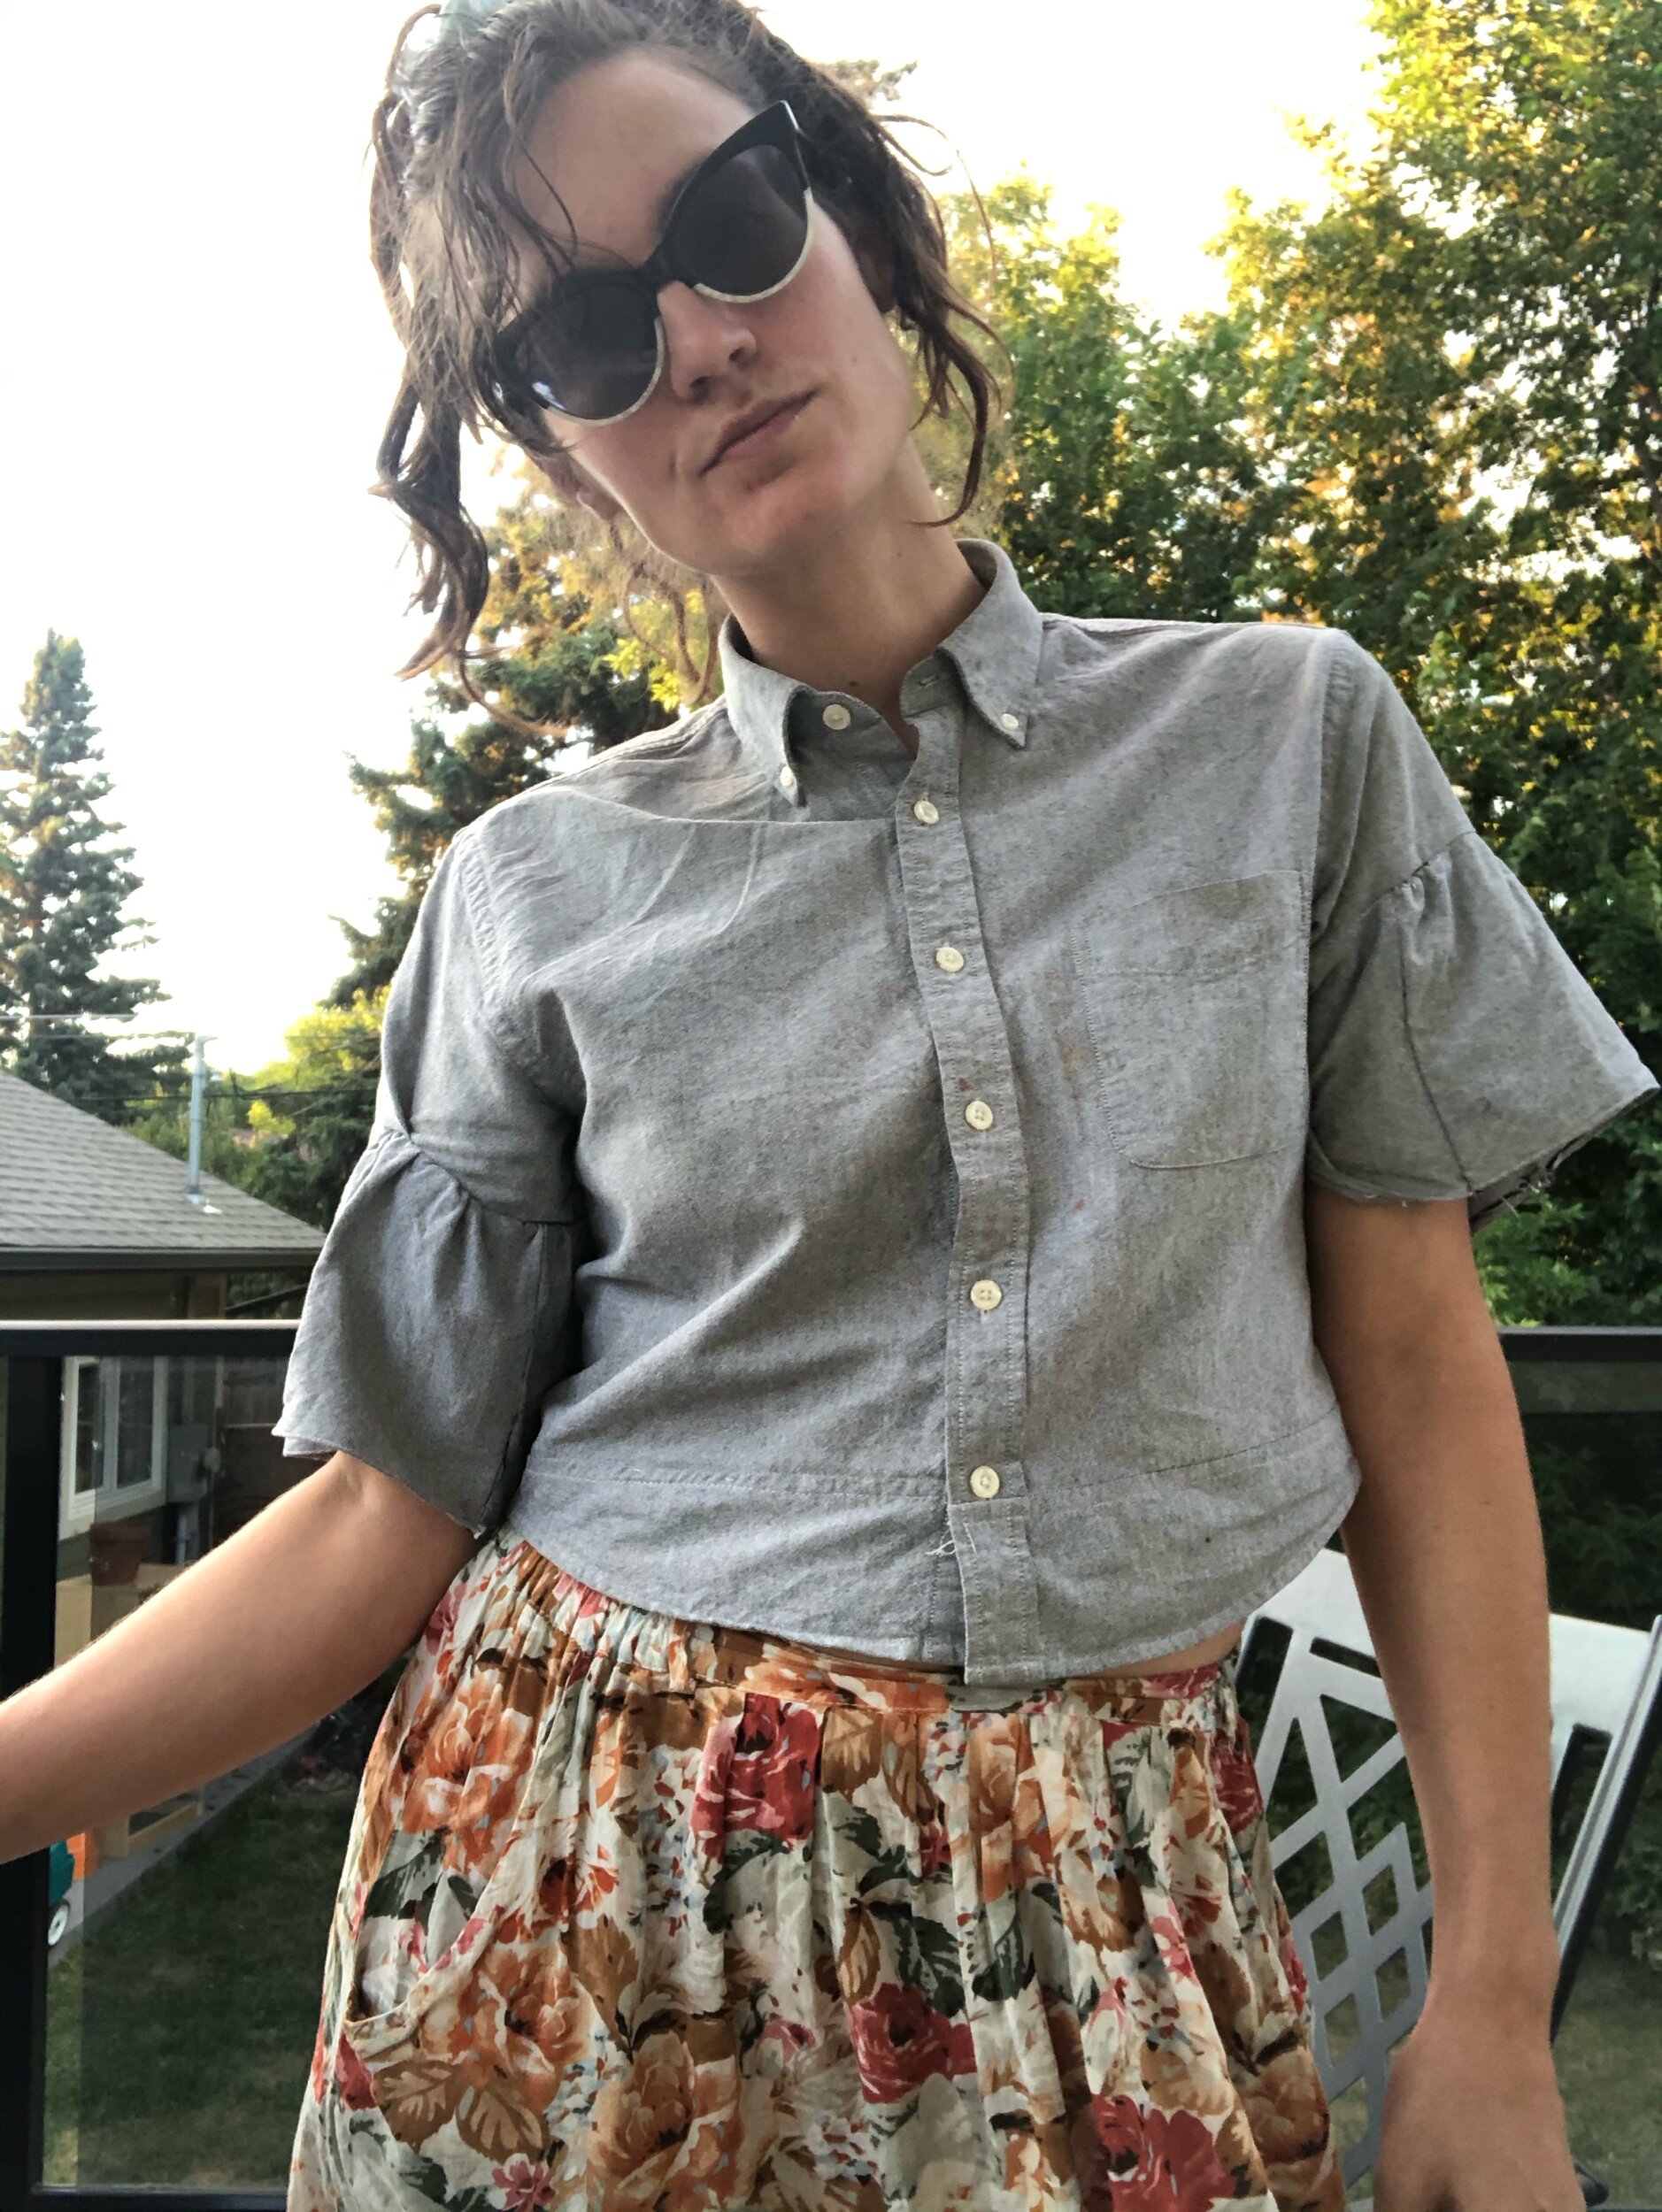
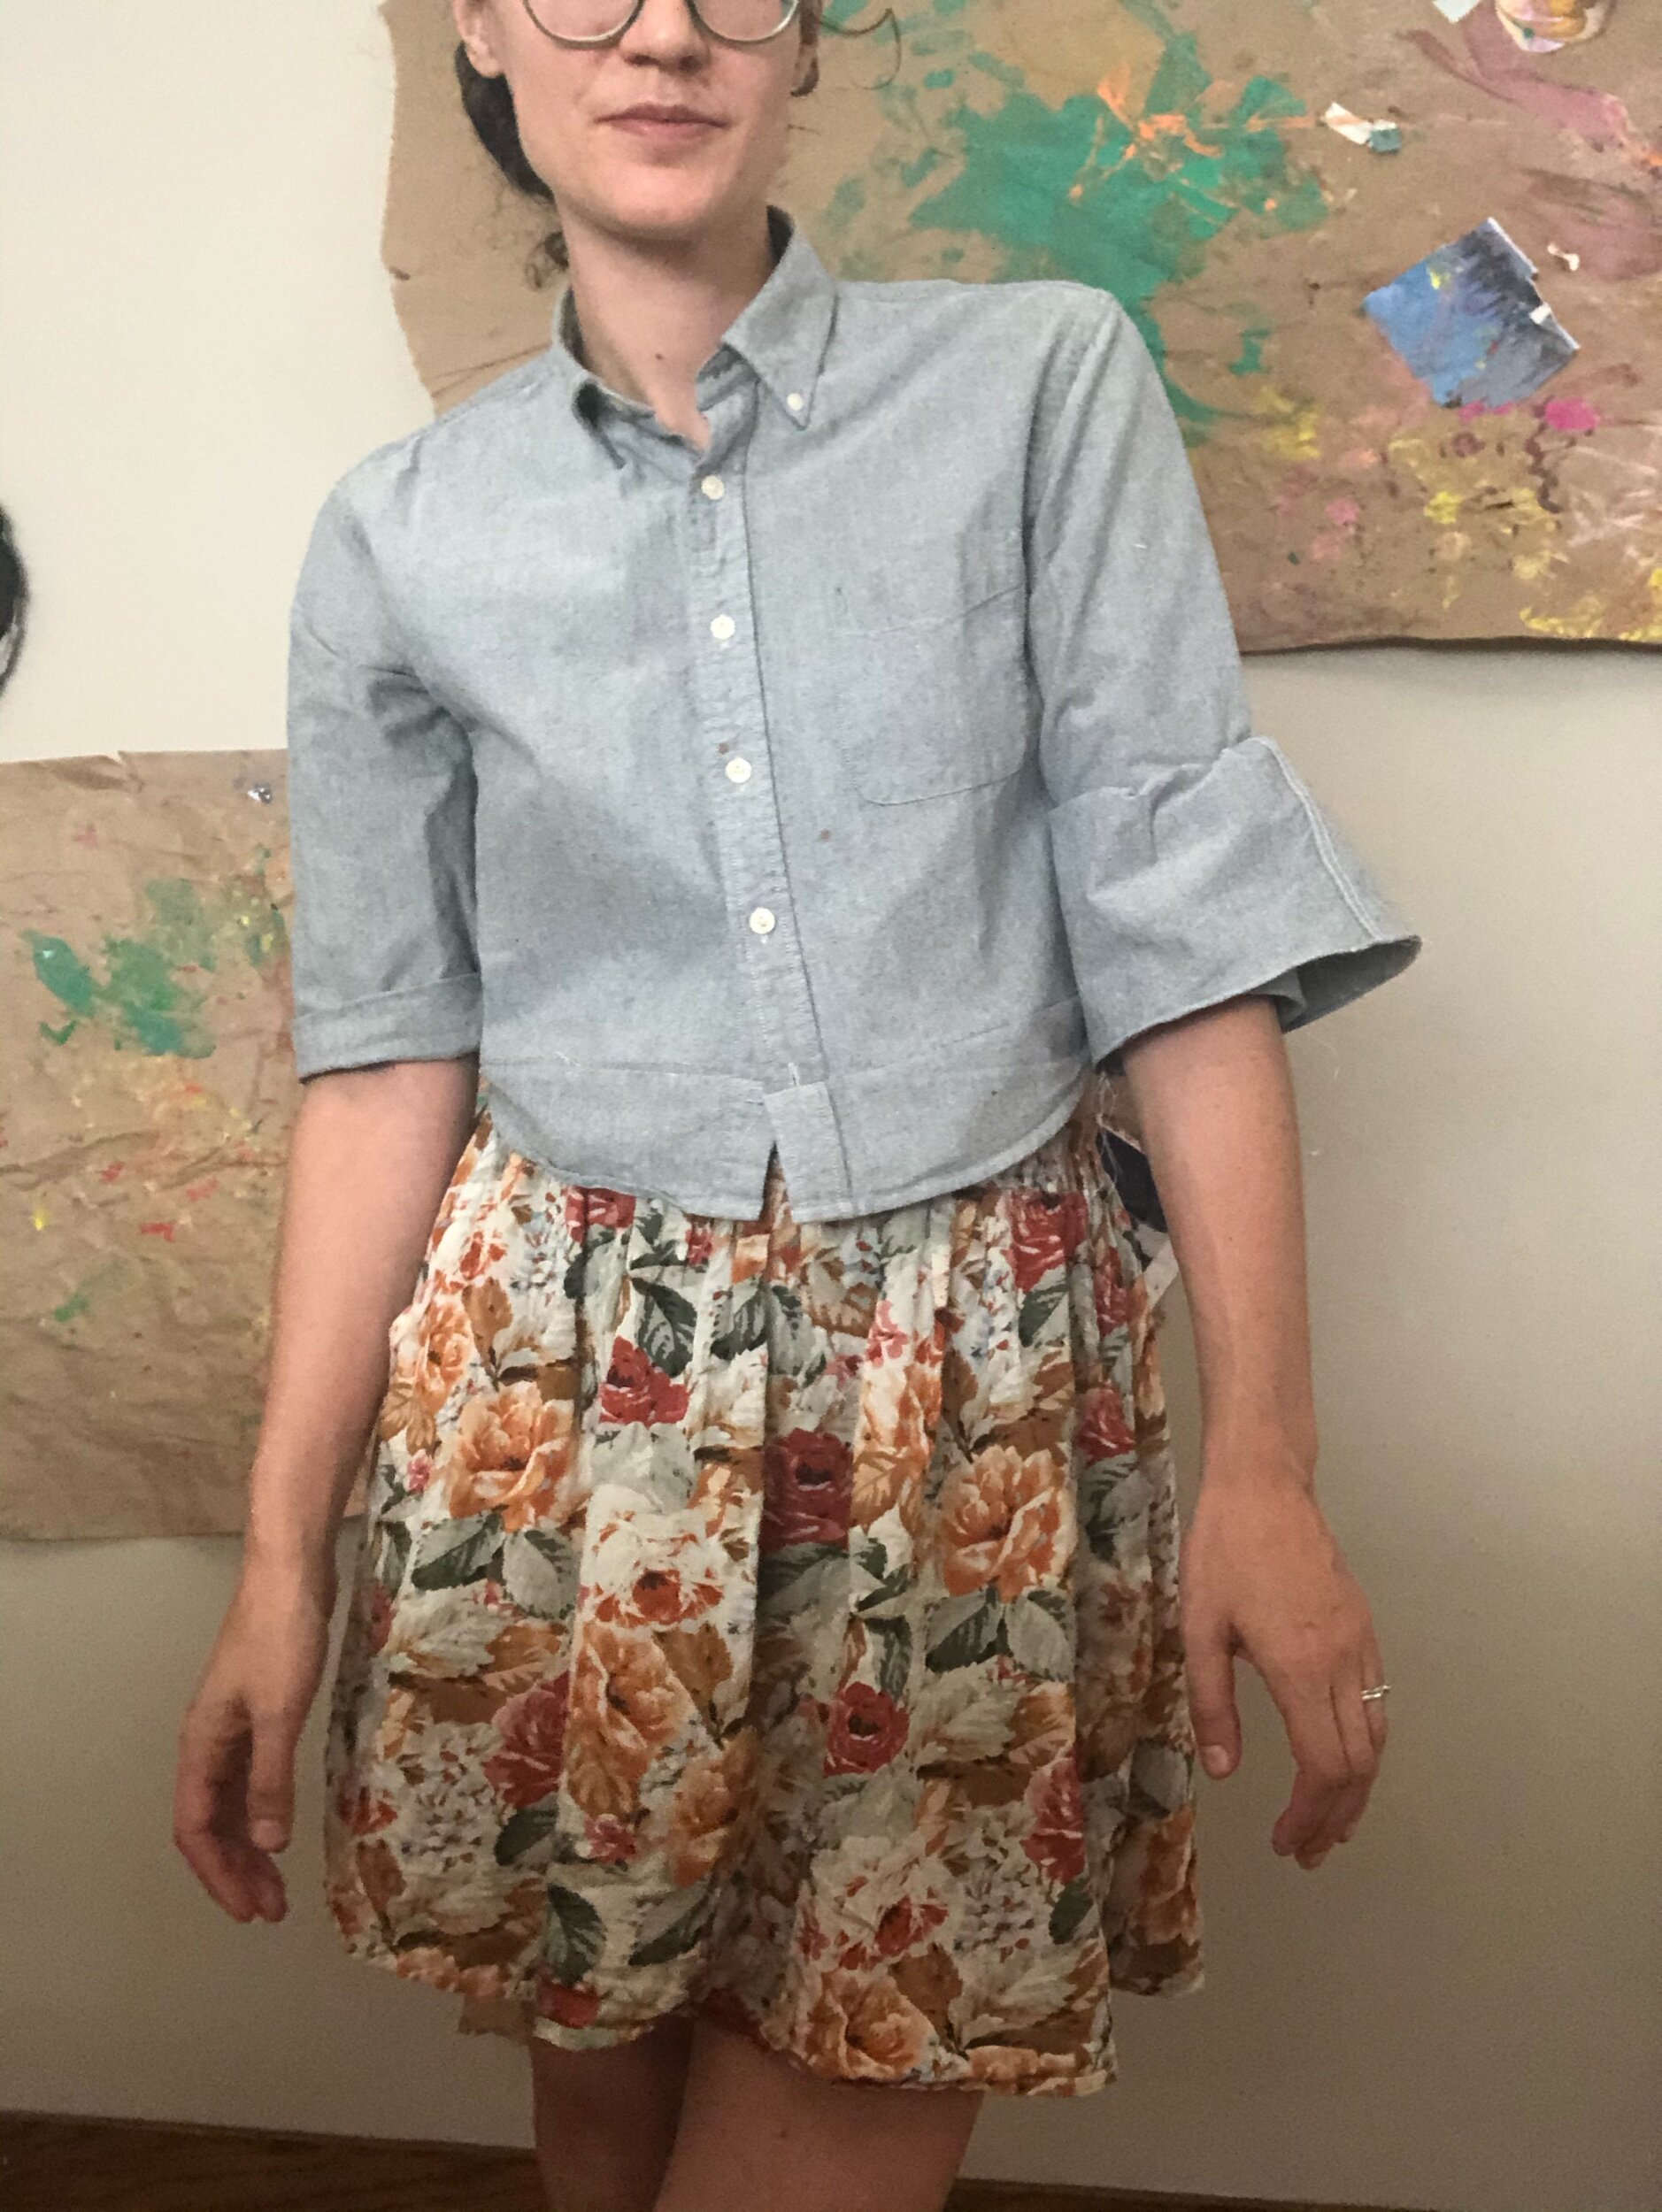
Before n after
Process
I looked at it and had an idea! The worst of the lipstick was around the midriff, and I love me a crop top. The question mark in the above title is just my question - are these quite statement sleeves or are they too sensible?
So I cut it off where I thought I could fold it up for a hem. That was too short so I cut off the shirt’s hem and sewed it back on, which tbh looks cuter than a straight hem would have looked. A little topstitching, just with white thread.
back view of shirt
looking at camera, wearing cropped upcycle buttonup shirt in front of brick wall
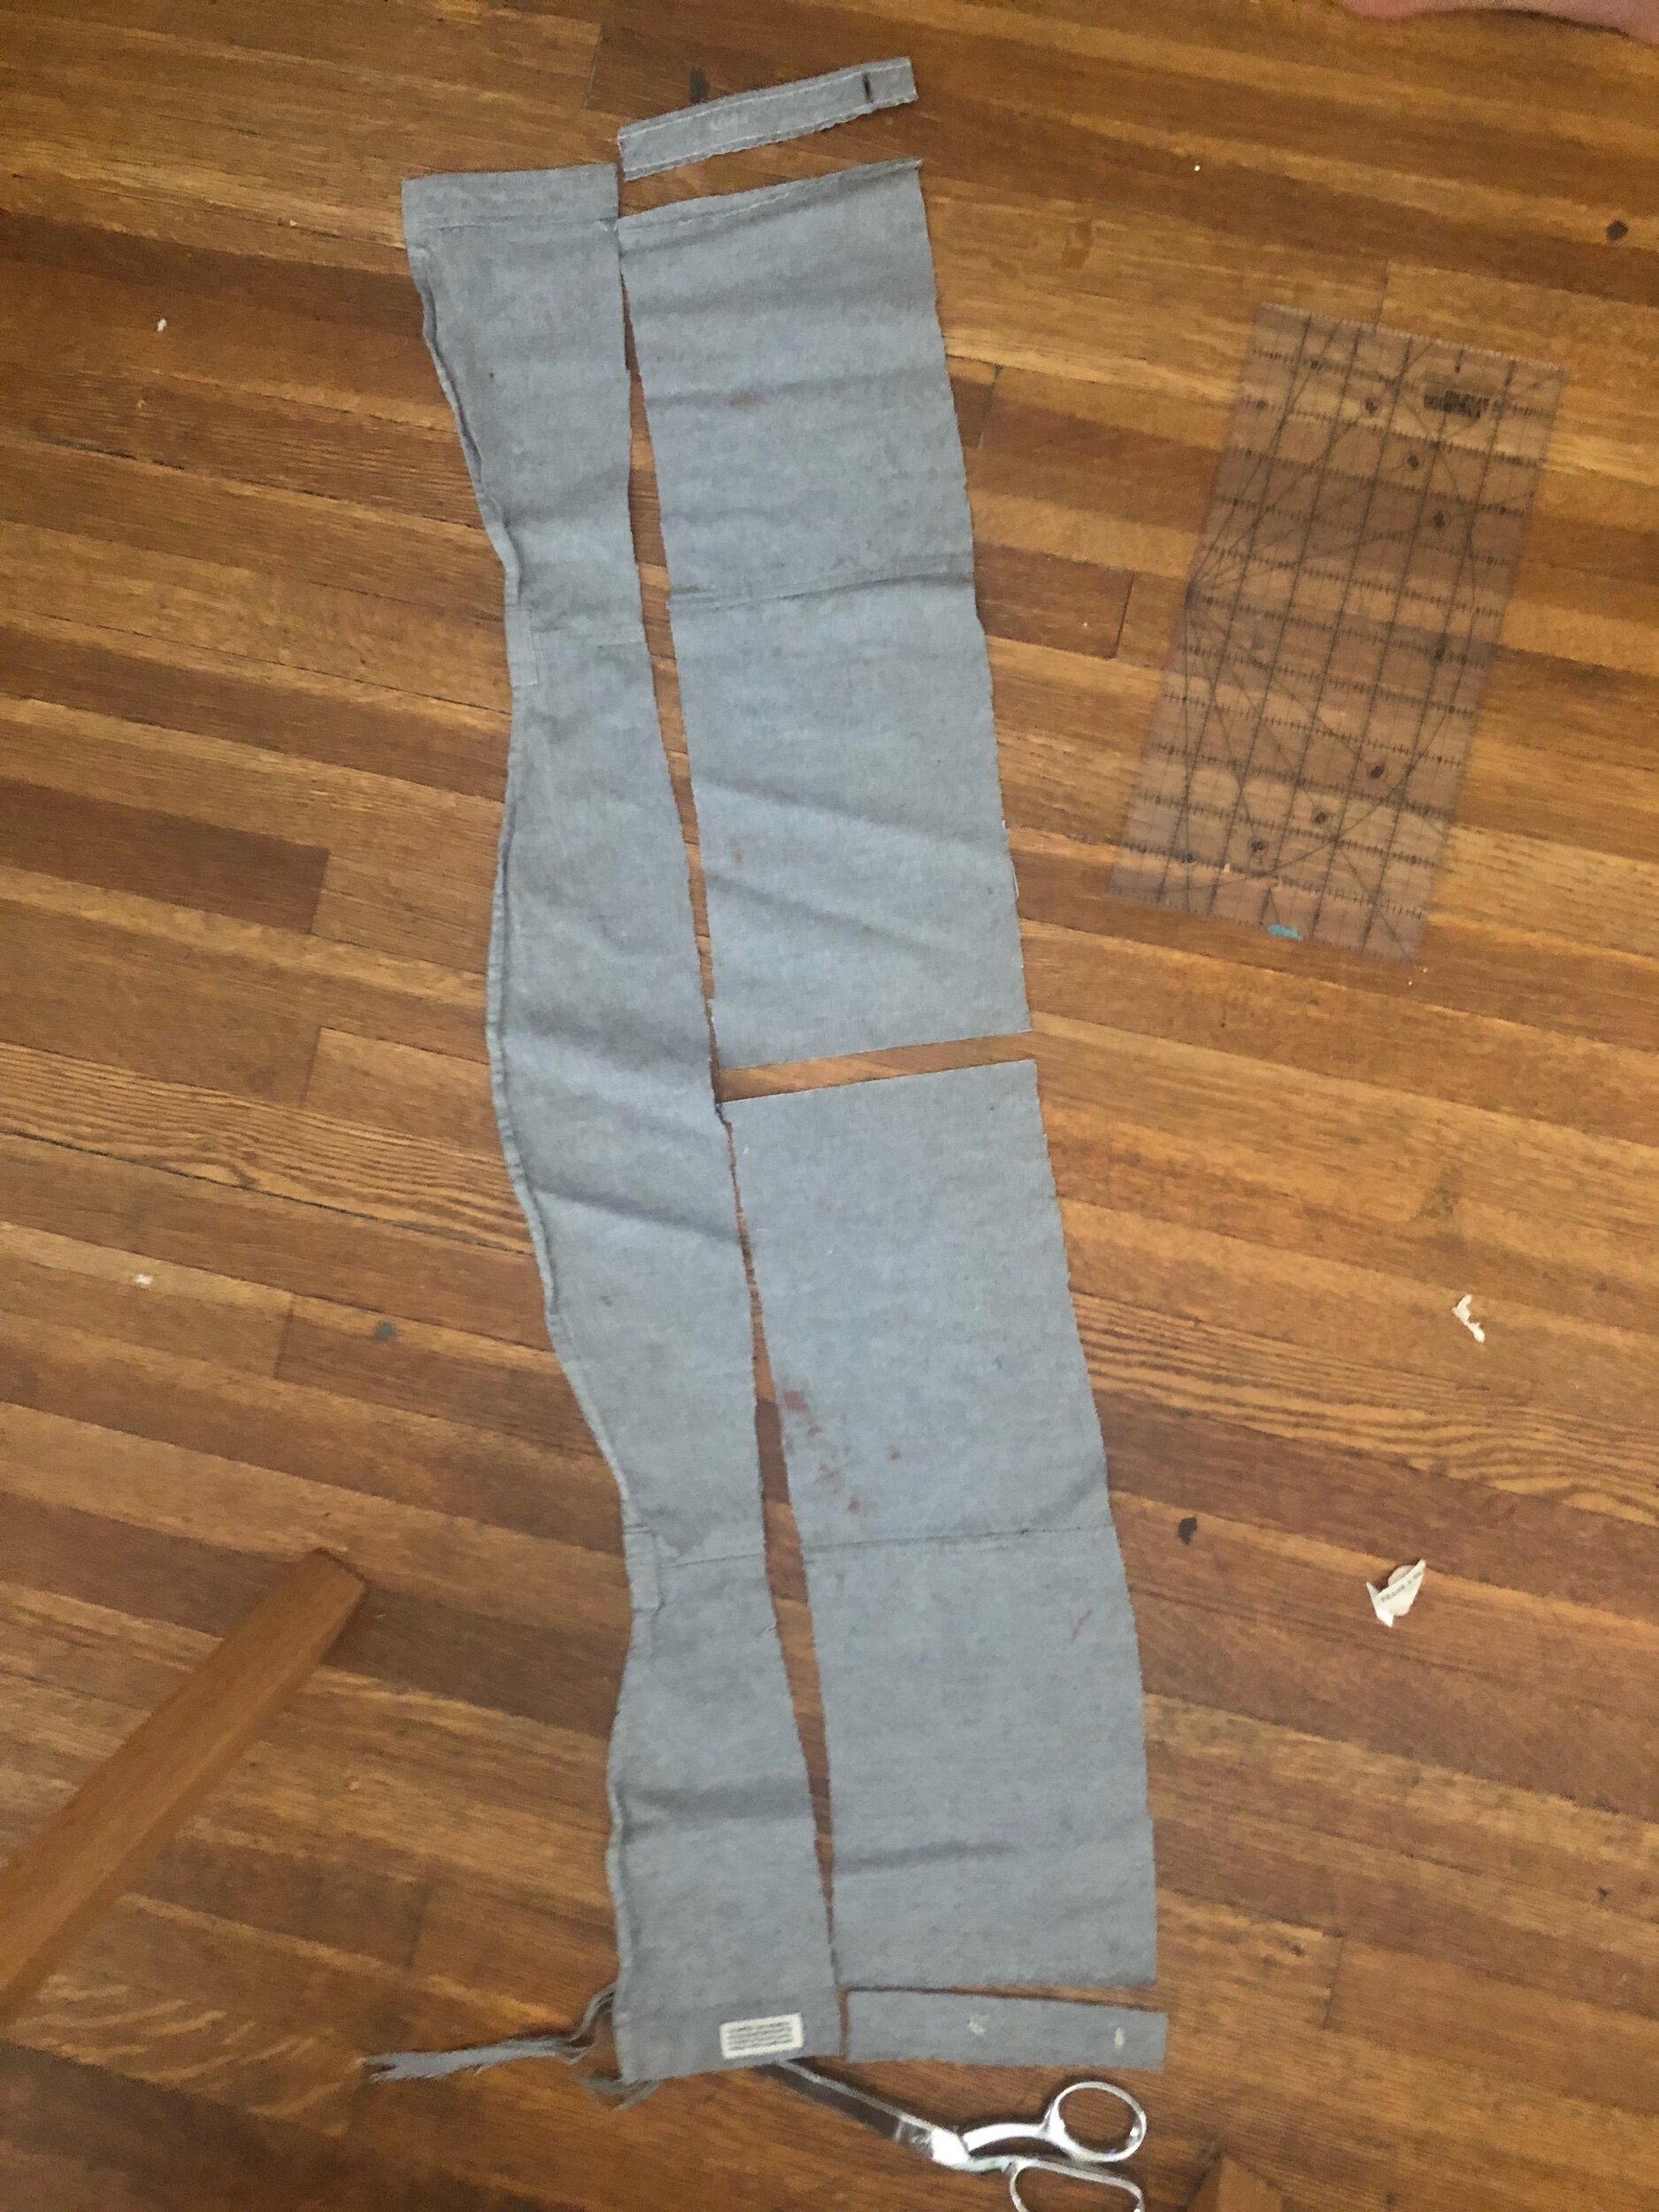
Sleeves I played around with shortening via rolling but it just wasn’t speaking to me. So I decided to make statement (?) sleeves… with a ruffle. I chopped off the arms then cut out long rectangles of fabric, ultimately roughly 20 inches * 5 inches. One of them was pieced b/c I started at 15 inches but it just was not near ruffly enough. I could have gone longer and tbh I wish I had. But I french seamed these and wasn’t gonna put that kind of more effort into it!
Finished the bottoms with a rolled hem, which is lovely and light weight but there are a couple places where I’m worried fraying will get the better of me.
I did gathers with two rows of stitching, and attached normally with a zig zag seam finish. On the note of not putting that much effort into this, one of the sleeves has a “pleat” where I let the sleeve get folded, woops, and then decided not to fix it. I might like the look of that sleeve better anyway.
pointing to the folded up bit on the sleeve where the ruffle attaches
closeup of hem reattachment seam and button added
That was pretty much that until I took pictures and decided it in fact needed a bottom button, where the buttonhole is shortened by the hem seam. I of course had pillaged the buttons from the shirt scraps leftover, so I tested if it would still fit and sewed it on at my parents’. I didn’t have any normal white thread so I used sashiko, bonus being two passes was already A LOT of thread…
Pattern: Freestyle upcycle
Fabric: lipstick damaged Frank & Oak shirt
Next time: be bold with gathers/ruffle length, it’s easier to shorten to make less extra than to lengthen and make more extra!
maskwearing, wearing cropped shirt. The side seams are not aligned where hem was reattached

