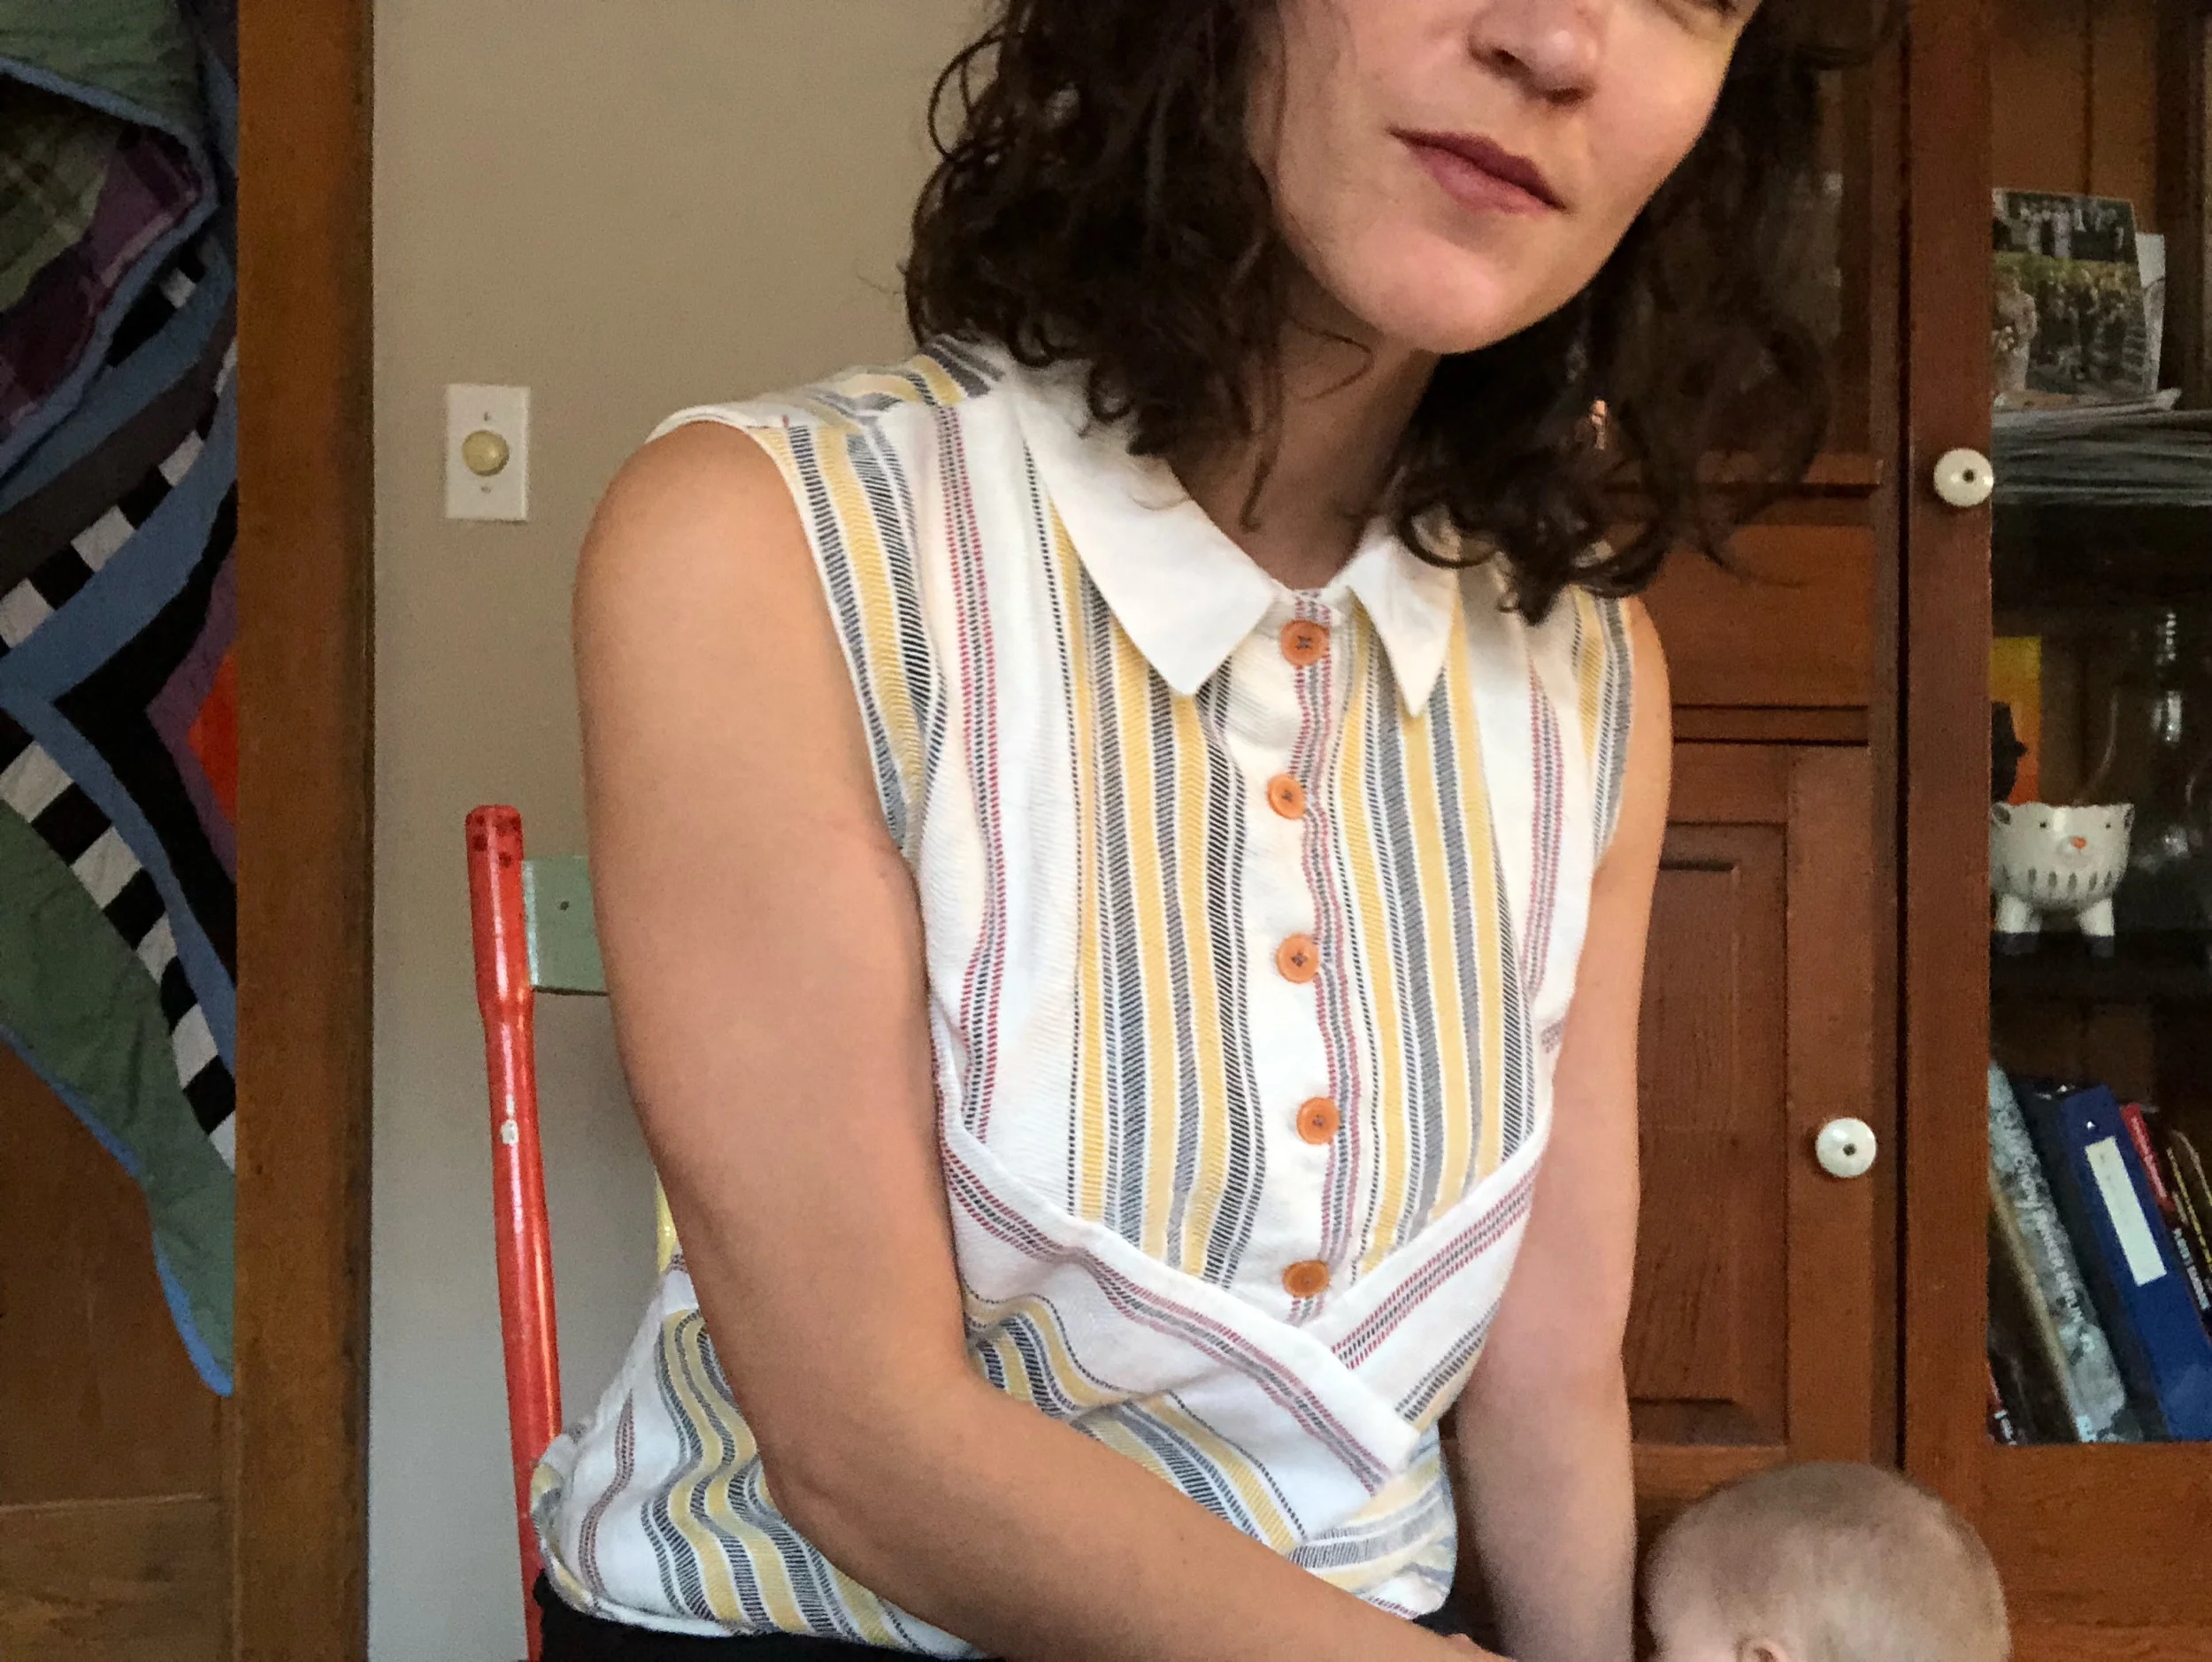
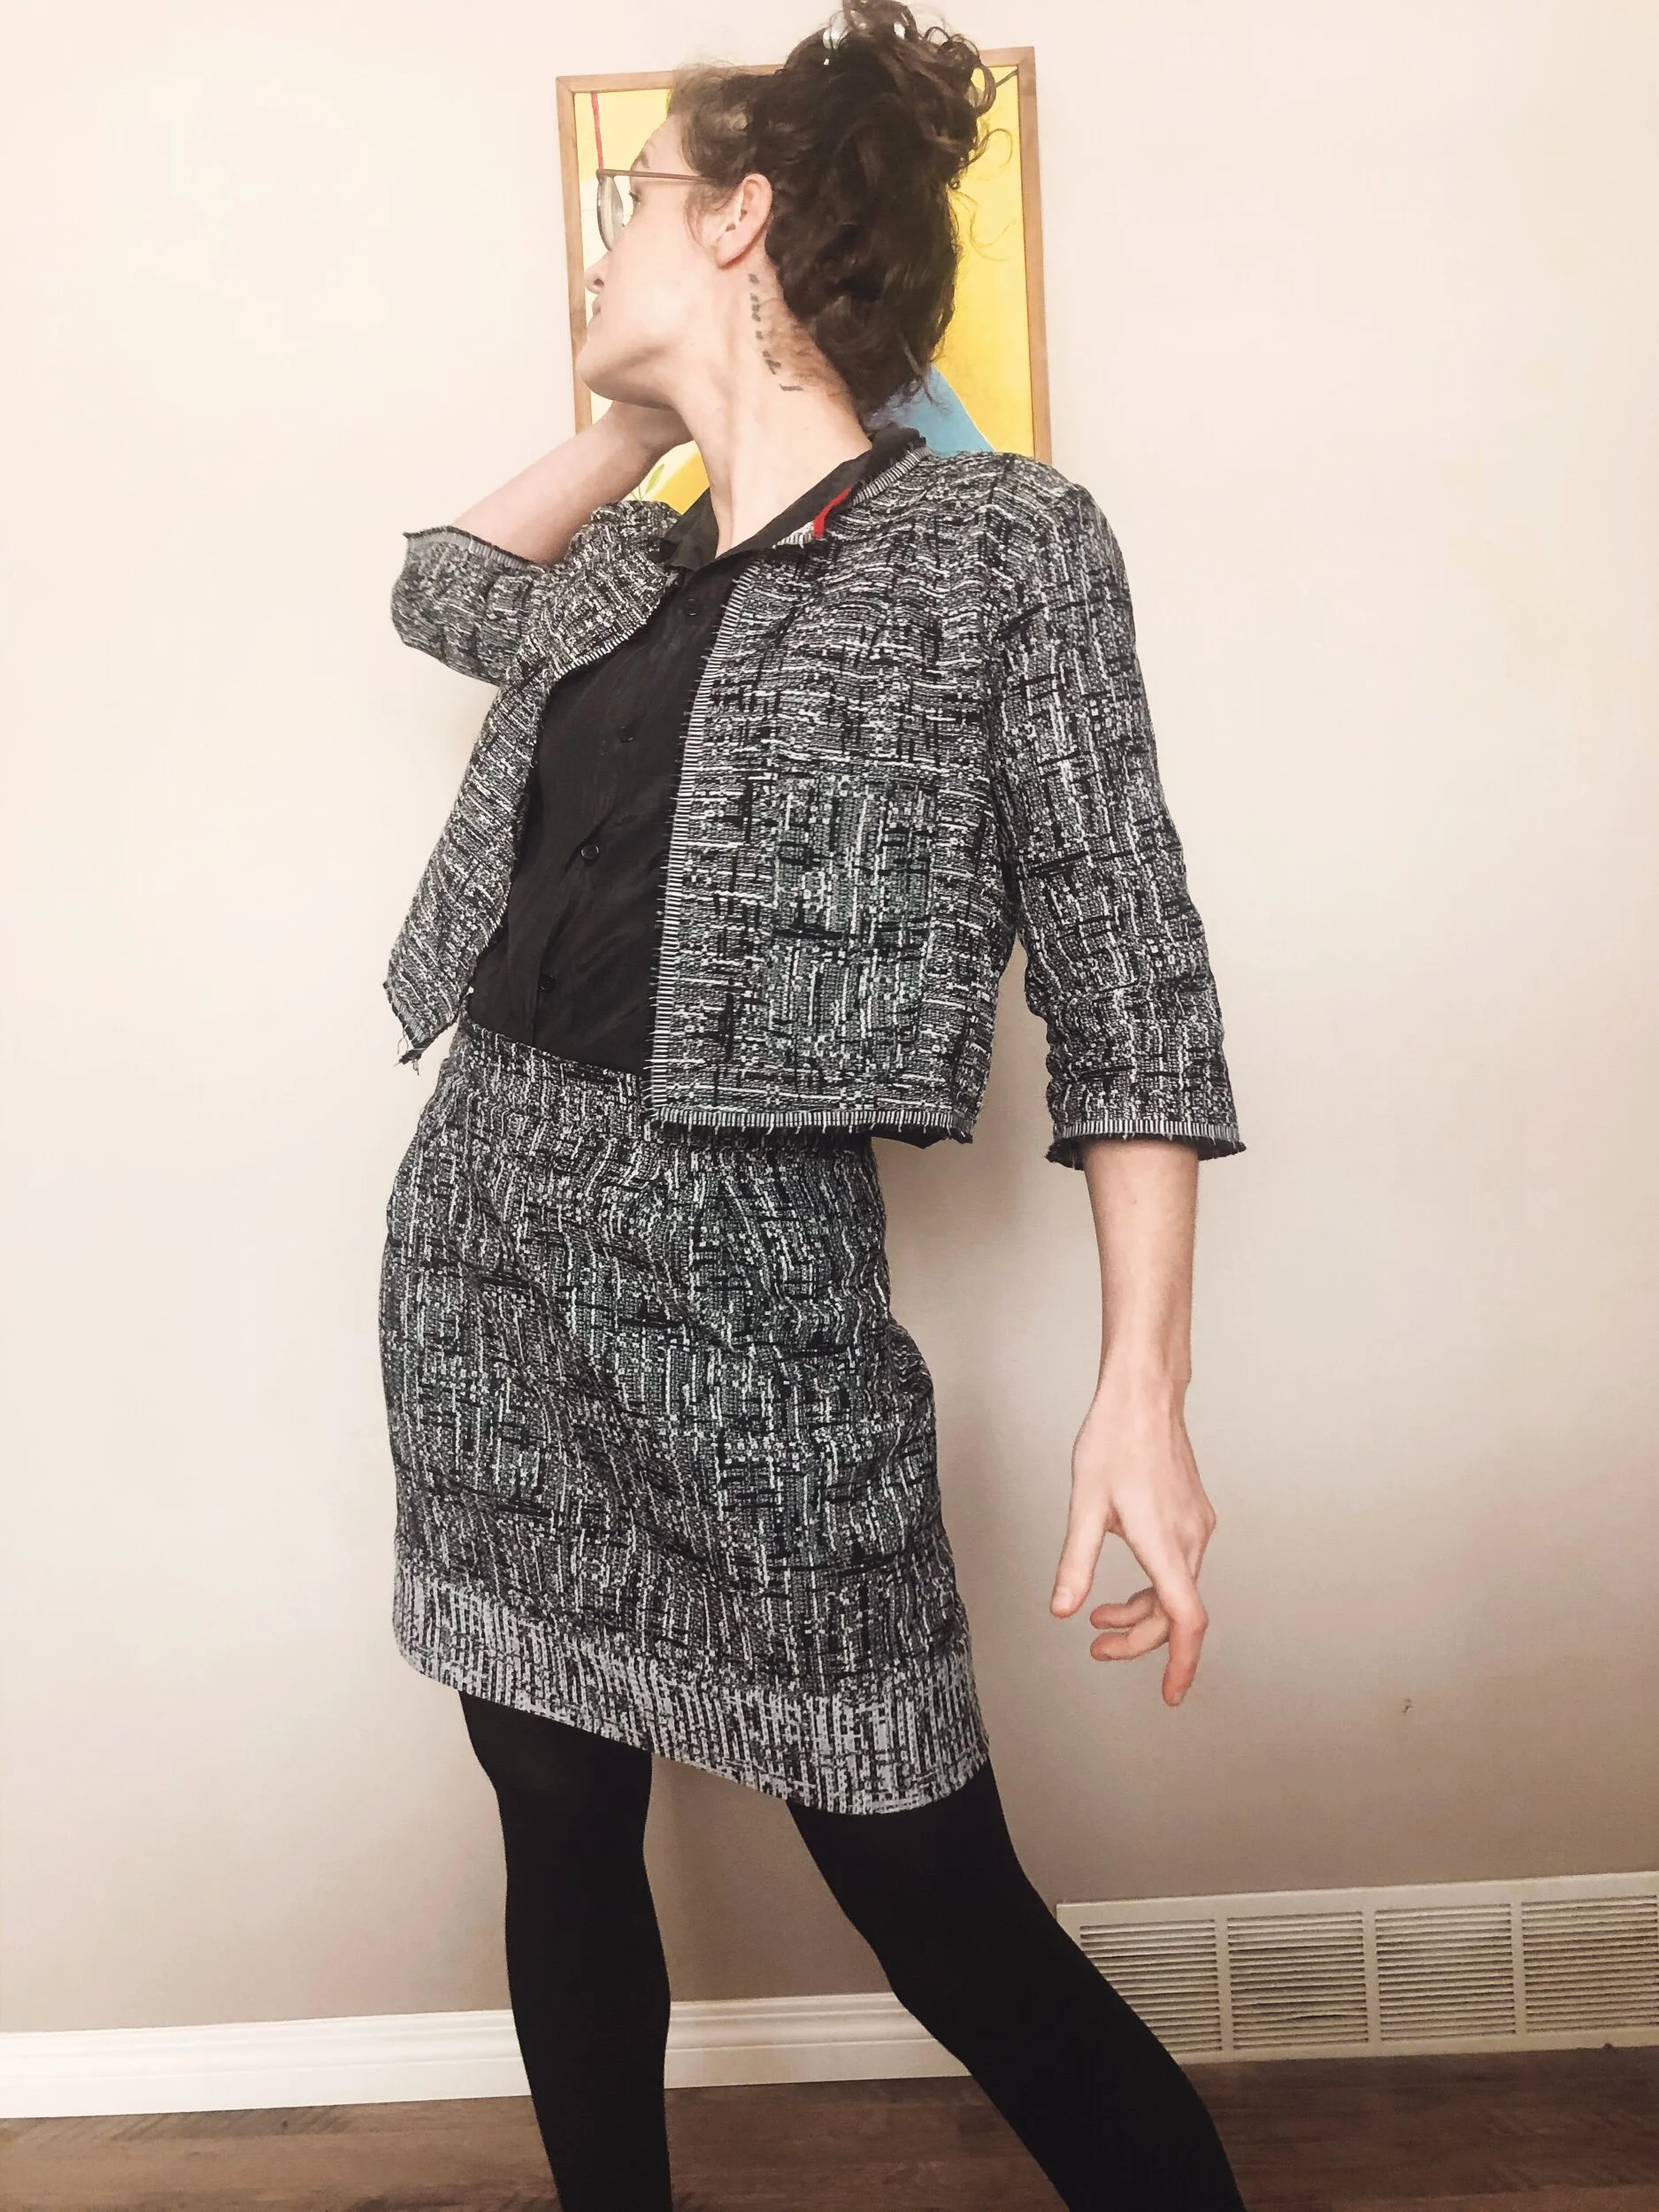
1989 capelet jacket
This pattern was made the same year I arrived, so naturally it was a perfect fit for starting the week of my 30th birthday (and finishing well after). I found it in a thrift shop in Meadow Lake, amongst a trove of patterns (Vogue Paris Originals!) in the size 18 range.
This find set me off on a Kijiji search for more patterns, and as luck would have it I found myself a week later with another several hundred vintage patterns. I’m thinning them out. There are certainly more treasure-able, beautiful vintage patterns in the newfound collection, but this one coming from the original (now seemingly dainty, 24 pattern) bounty, it was stuck in my brain.
Because: capelets. An over-the-top 80s blazer with capelets. What better thing for a currently stay-at-home mom? (Gonna be great wearing this at the synchrotron…) Oh, a pink one. Thank you Matchpoint Fabric.
For a very easy project construction-wise, it sure took me some time. Because I took my time ^_^.
So I ordered the fabric and set about tracing off the pattern, which I’m not yet in the habit of but plan to be for print patterns. I’ve got a roll of 36” tracing paper from Staples, which was maybe not the absolute cheapest option, but it’s easy to use and since it’s a roll, doesn’t actually take up much space. This pattern is a little weird to trace, since the side panels have cut-on sleeves, resulting in L-shape pattern pieces that look pretty similar in the arm and the bodice. Mark carefully!
An 18 was going to be too big, for sure, and I suspected that there would be much too much ease in it to boot. So I estimated what measurements I would want to end up with - I measured a favourite blazer and found it doesn’t actually have that much ease in the body. So I decided on taking out a whopping 8 inches, from 45.5 inches at bust according to the pattern marking to 37.5.
This was my first go round with the slash-and-overlap method, and i decided to cut both the side panel pieces and the center panel pieces twice, overlapping 1 inch at each point. I didn’t take anything out of the sleeves, since I have longish arms, but I ended up with a fairly deep hem, so I could have.
I machine-basted the pattern together to test the fit, and found that I needed a bit more room. I think I wear that much-loved blazer open most of the time, which I hadn’t thought about. I’ll probably wear this one open more often than not, but you want to be able to comfortably button up in case of inclement weather or what have you. I moved the seamline 1/8” at each princess seam, for a total of 1” added back.
The pattern calls for topstitching along the princess lines, which I entirely abandoned. There is enough going on visually without emphasizing those design lines, at least for me. I also ditched the shoulder pads, because broad shoulders.
Really, where the rubber hit the road for “this is gonna take awhile” was when I decided that I should Hong Kong finish the seams. I love em. Worth every minute of extra pressing, cutting, measuring, sewing etc. They are not the cleeeeanest they could be, mostly owing to my bias strips not being perfect 1” items. More…. eyeballed 1”. And to make sure they stayed put, I just sewed them on from the reverse rather than stitching in the ditch, so there is no invisible stitching. But. Look at them! The bias is leftover rayon challis (also Matchpoint ^_^) from my summer romper, and the contrast is just perfect. I seriously took so many photos of the jacket laying around at various phases of completion, because the bias would just catch my eye and make me happy.
I did a nice deep hem on the sleeves, folded over twice rather than bias bound. This I secured with a hand blind hem.
On the bottom, I was working with less real estate for the hem, so I bias finished the bottom to save an extra turn. This also probably made it a touch less bulky, which I’m into. And of course, it meant more punches of colour on the inside. My mom gave me her blind hem foot, and I referred to Threads 202 for some tips on how to get that good good machine blind hem.
I also happened to have Threads 197 on hand (I don’t subscribe, I just randomly pick it up from the library on the regular to see what I can learn) (I also do this with cookbooks, children’s books, and sewing books pretty much constantly), which gives tips on hemming at a facing, which is great, because while that’s not hard to do I always find it a little confusing and hard to get a nice finish. The main takeaway here was to press the facing/hem how it should look when finished first, then turn to the outside to sew, aligning those press lines how they should end up. Then, do a test baste before putting in permanent stitches (always wise words, but… nahhhhh).
I hand sewed the inner and outer collar together, using something of a slipstitch with backstitches mixed in.
And for the buttons - I found these three at a thrift store, and I was super pleased to have found something with a touch of flair (the gold flecks!) but that would blend into the whole nicely. I’ve converted to doing the buttonhole itself with a regular foot, marking points with a frixion pen and just sewing around the box with the appropriate zig-zags. I find it gives me a more consistent finish than the auto buttonhole did. And finally, on a whim, I watched this video from Holt Couture on how to sew on a button (who can’t sew on a button??) and was inspired to up my button sewing technique to include wrapping the thread “posts.”
Fabric: Dusty Rose Gracey Organic Cotton Twill (named for Gracey Claymore, how great is that?) and rayon tape made from remnants of fun deadstock, both from Matchpoint!
Pattern: Very Easy Vogue 7650
Measurements: Bust 36, High bust 34
Size made: 18 graded down 7 inches
Next time: Want more practice with Hong Kong binding, would be good to be more careful cutting my strips! Can’t see making this precise jacket again, as that would be a lot of large capelets, but I could definitely use a bit more ease around the waist.


