No fear new jeans
It all started when Heather Lou sent out a newsletter proclaiming #nofearnewjeans month, along with discounts for all her jeansmaking patterns and course, as well as beautiful cone mills denim kits. Suddenly I went from “wow sewers make their own jeans that’s amazing” to “I’m ordering two kits, getting the patterns and the course, and making jeans NOW.”
And I did. And I wear them as much as my Nudie Skinny Lins. I’m looking forward to making another pair, but given that I currently own more jeans than I have ever owned at one time (3), I’m holding off a minute. There are a heckload of fit elements I could improve, as you can see, but dang who cares?
I basically ignored the written pattern instructions and just followed the Closet Case video course, which surprised me because I usually go for blog posts over vlog posts to learn sewing things. But Heather's video course was super soothing and reassuring!!
I was apparently quite bloated when I took my measurements, because my first baste fit was just giant and baggy everywhere. These pictures don’t quite do it justice, but a friend responded to my snap of them in full giant form with something along the lines of 😂😂😂 and a great deal of pity. Skinny jeans felt, uh... distant. Rather distant.
I thought about trying to cut the denim down a couple sizes but thought that would be too fiddly, might cause the denim to go off grain, and might end up still off size in one direction or another. So I asked Heather in the class if I should go with my instincts and pin fit and she said yes. (The fitting lesson in the Closet Case video course has far and away the most comments/questions, so I felt in good company.) Having never pin fitted before, I spent a couple evenings pinning, trueing lines, and referring to Sewing Pants That Fit.
one side of these jeans has gone through some fitting
truly, works wonders
Now... a fitting progress. I didn't want to overfit, given that I have almost no fitting experience, and just didn't overthink anything much. I took in TONNES from the side (the blue is my new side seam on the pattern bit shown), as you can see from my seam lines, and scooped the but curve a little to deal with all that excess. Curve scoops really can be tiny to make a big change, and it's kind of amazing.
In the spirit of "no fear" I just transferred the changes to the pattern (following the Sewing Pants that Fit instructions for doing so (mostly -- I did a quick and dirty fold of my waistband to get the new curve and it worked quite nicely)) and cut that shit off the paper pattern. No fear! No regrets! Ok, some fear. But no regrets.
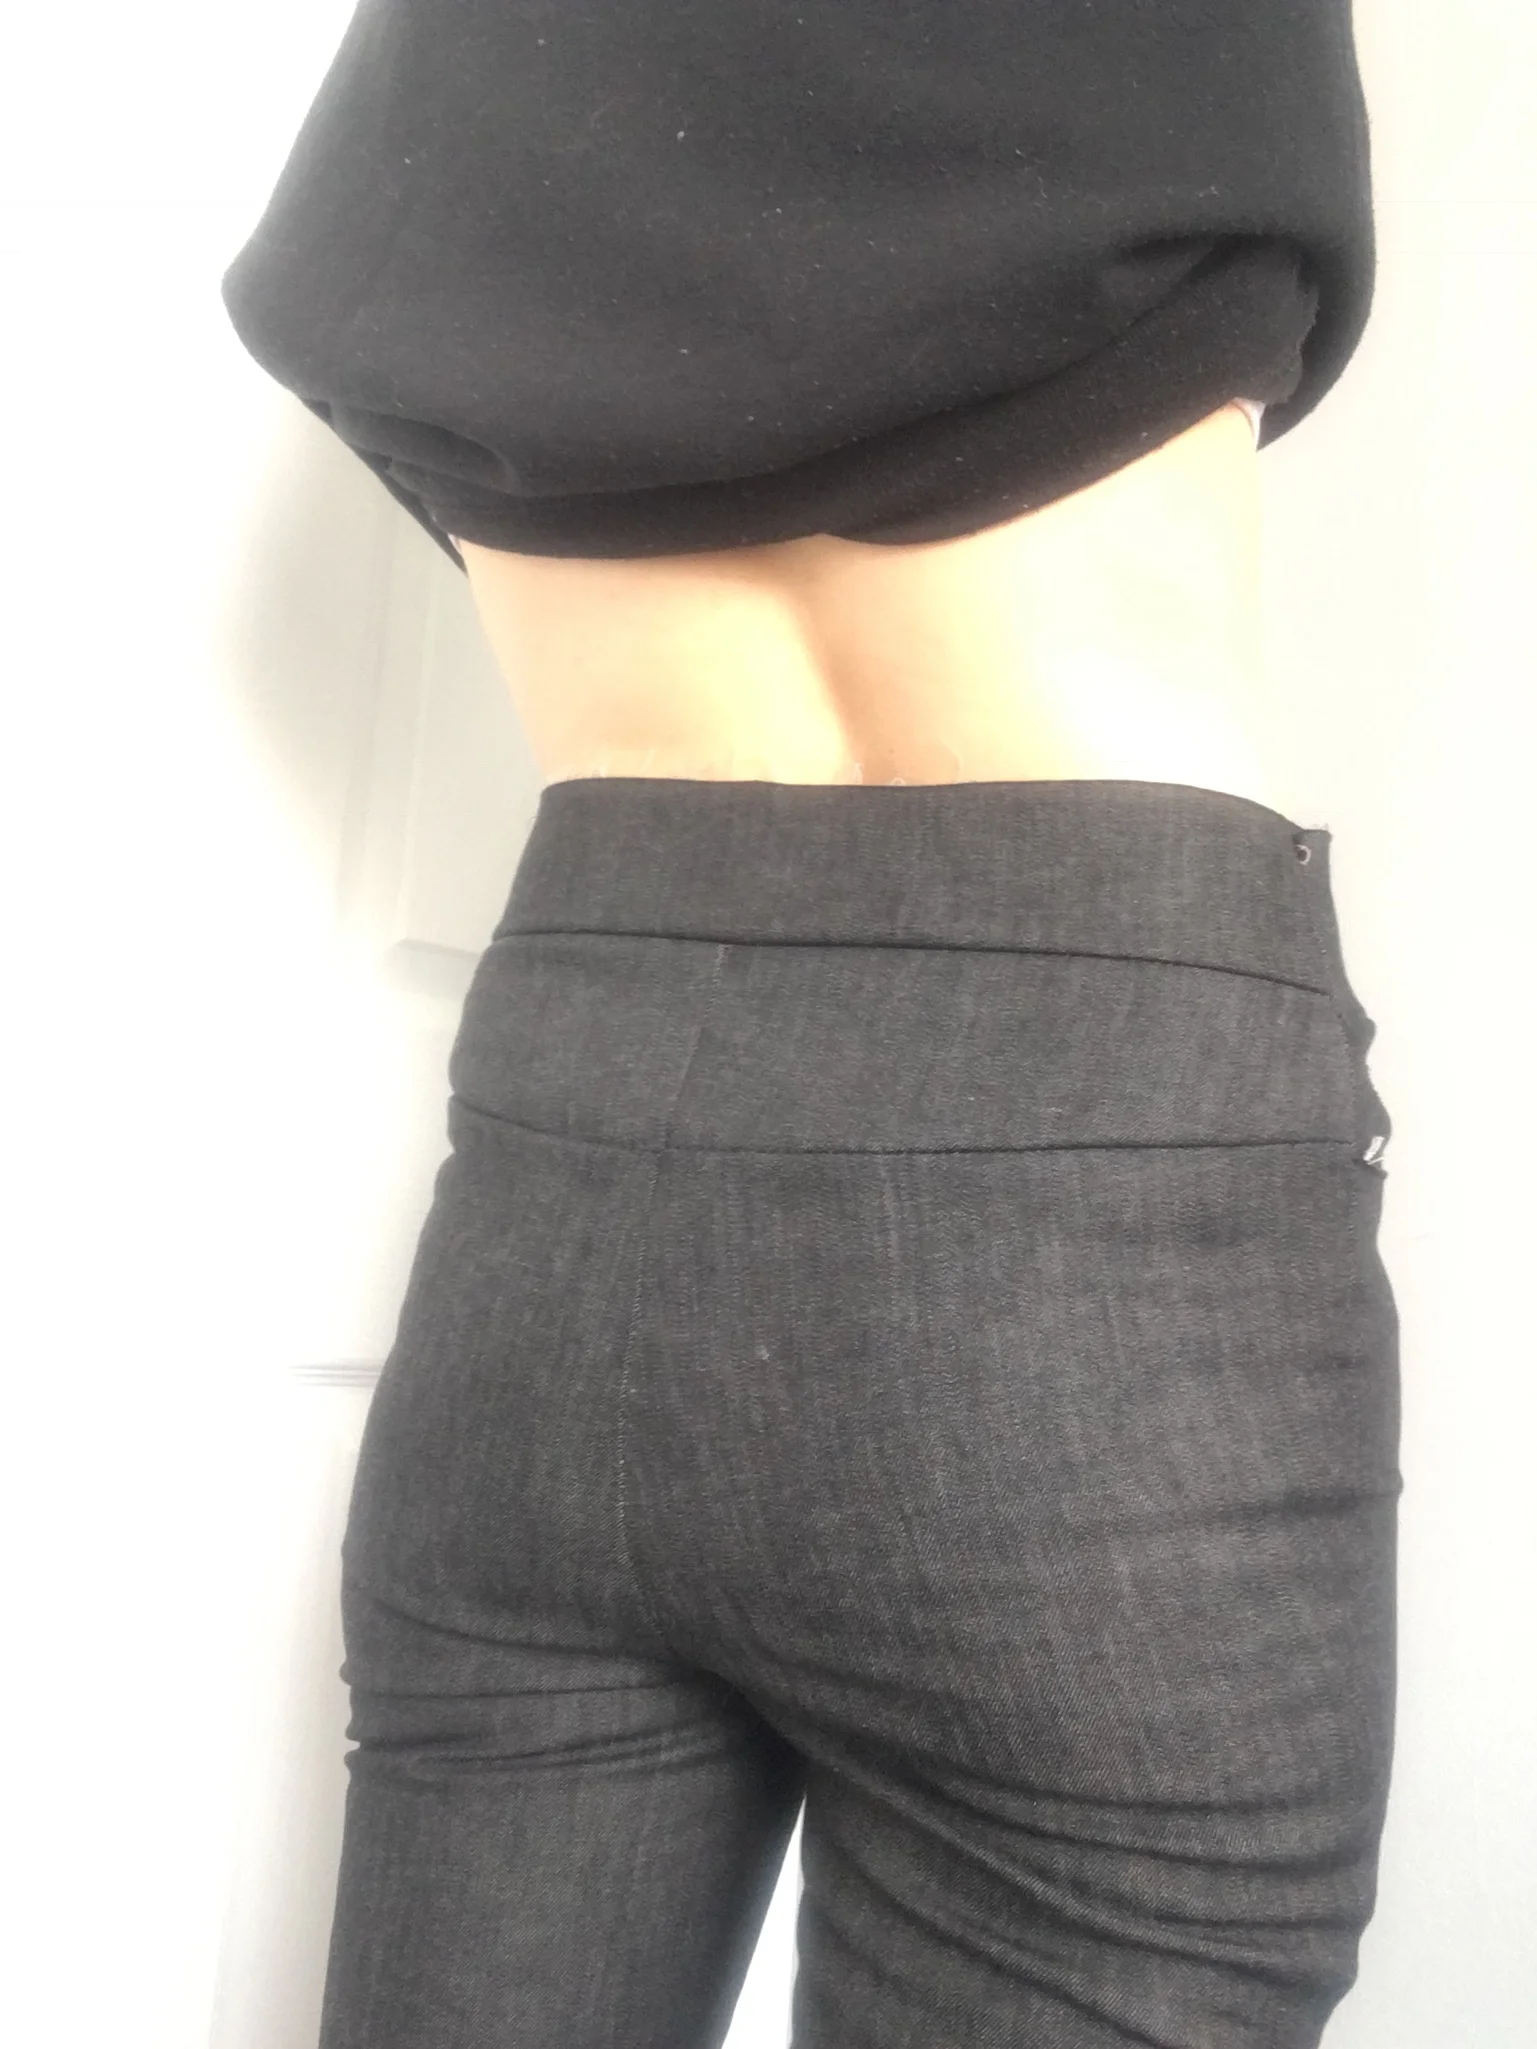
I ended up going a touch tight on the hips, but I just sewed the side seams with a 3/8 rather than 5/8 seam from the hip to the waistband and that works fairly well for me. And my next pair, I'll absolutely be changing the curve of the waistband and yoke more. I didn't notice in fitting, but i'm getting bagging along the yoke and have a waistband gap when I'm not bloatey. That said, they stay up beautifully and the gap doesn't bother me, so that's what they call being picky, right?
Then was assembly. I'm super blown away by how smooth putting togheter a jeans front is if a) you just trust Heather's instructions and b) you don't beat yourself up too much about little wobbles on the topstitching. I am HECKA happy with how these fronts turned out, and OF COURSE the topstitching could be better... but they're prefect the way they are. And the whole kit and kaboodle of an assembled front is extraordinarily satisfying. It all just feels so solid. And jeans-like.
And did I mention, I love love love this adorable quilting cotton for the pocket stays? I used a bit of bias tape to cover the zipper shield, and did not worry at all about making that stitching look good, because i figure it looks good enough for an inside. All the heart eyes.
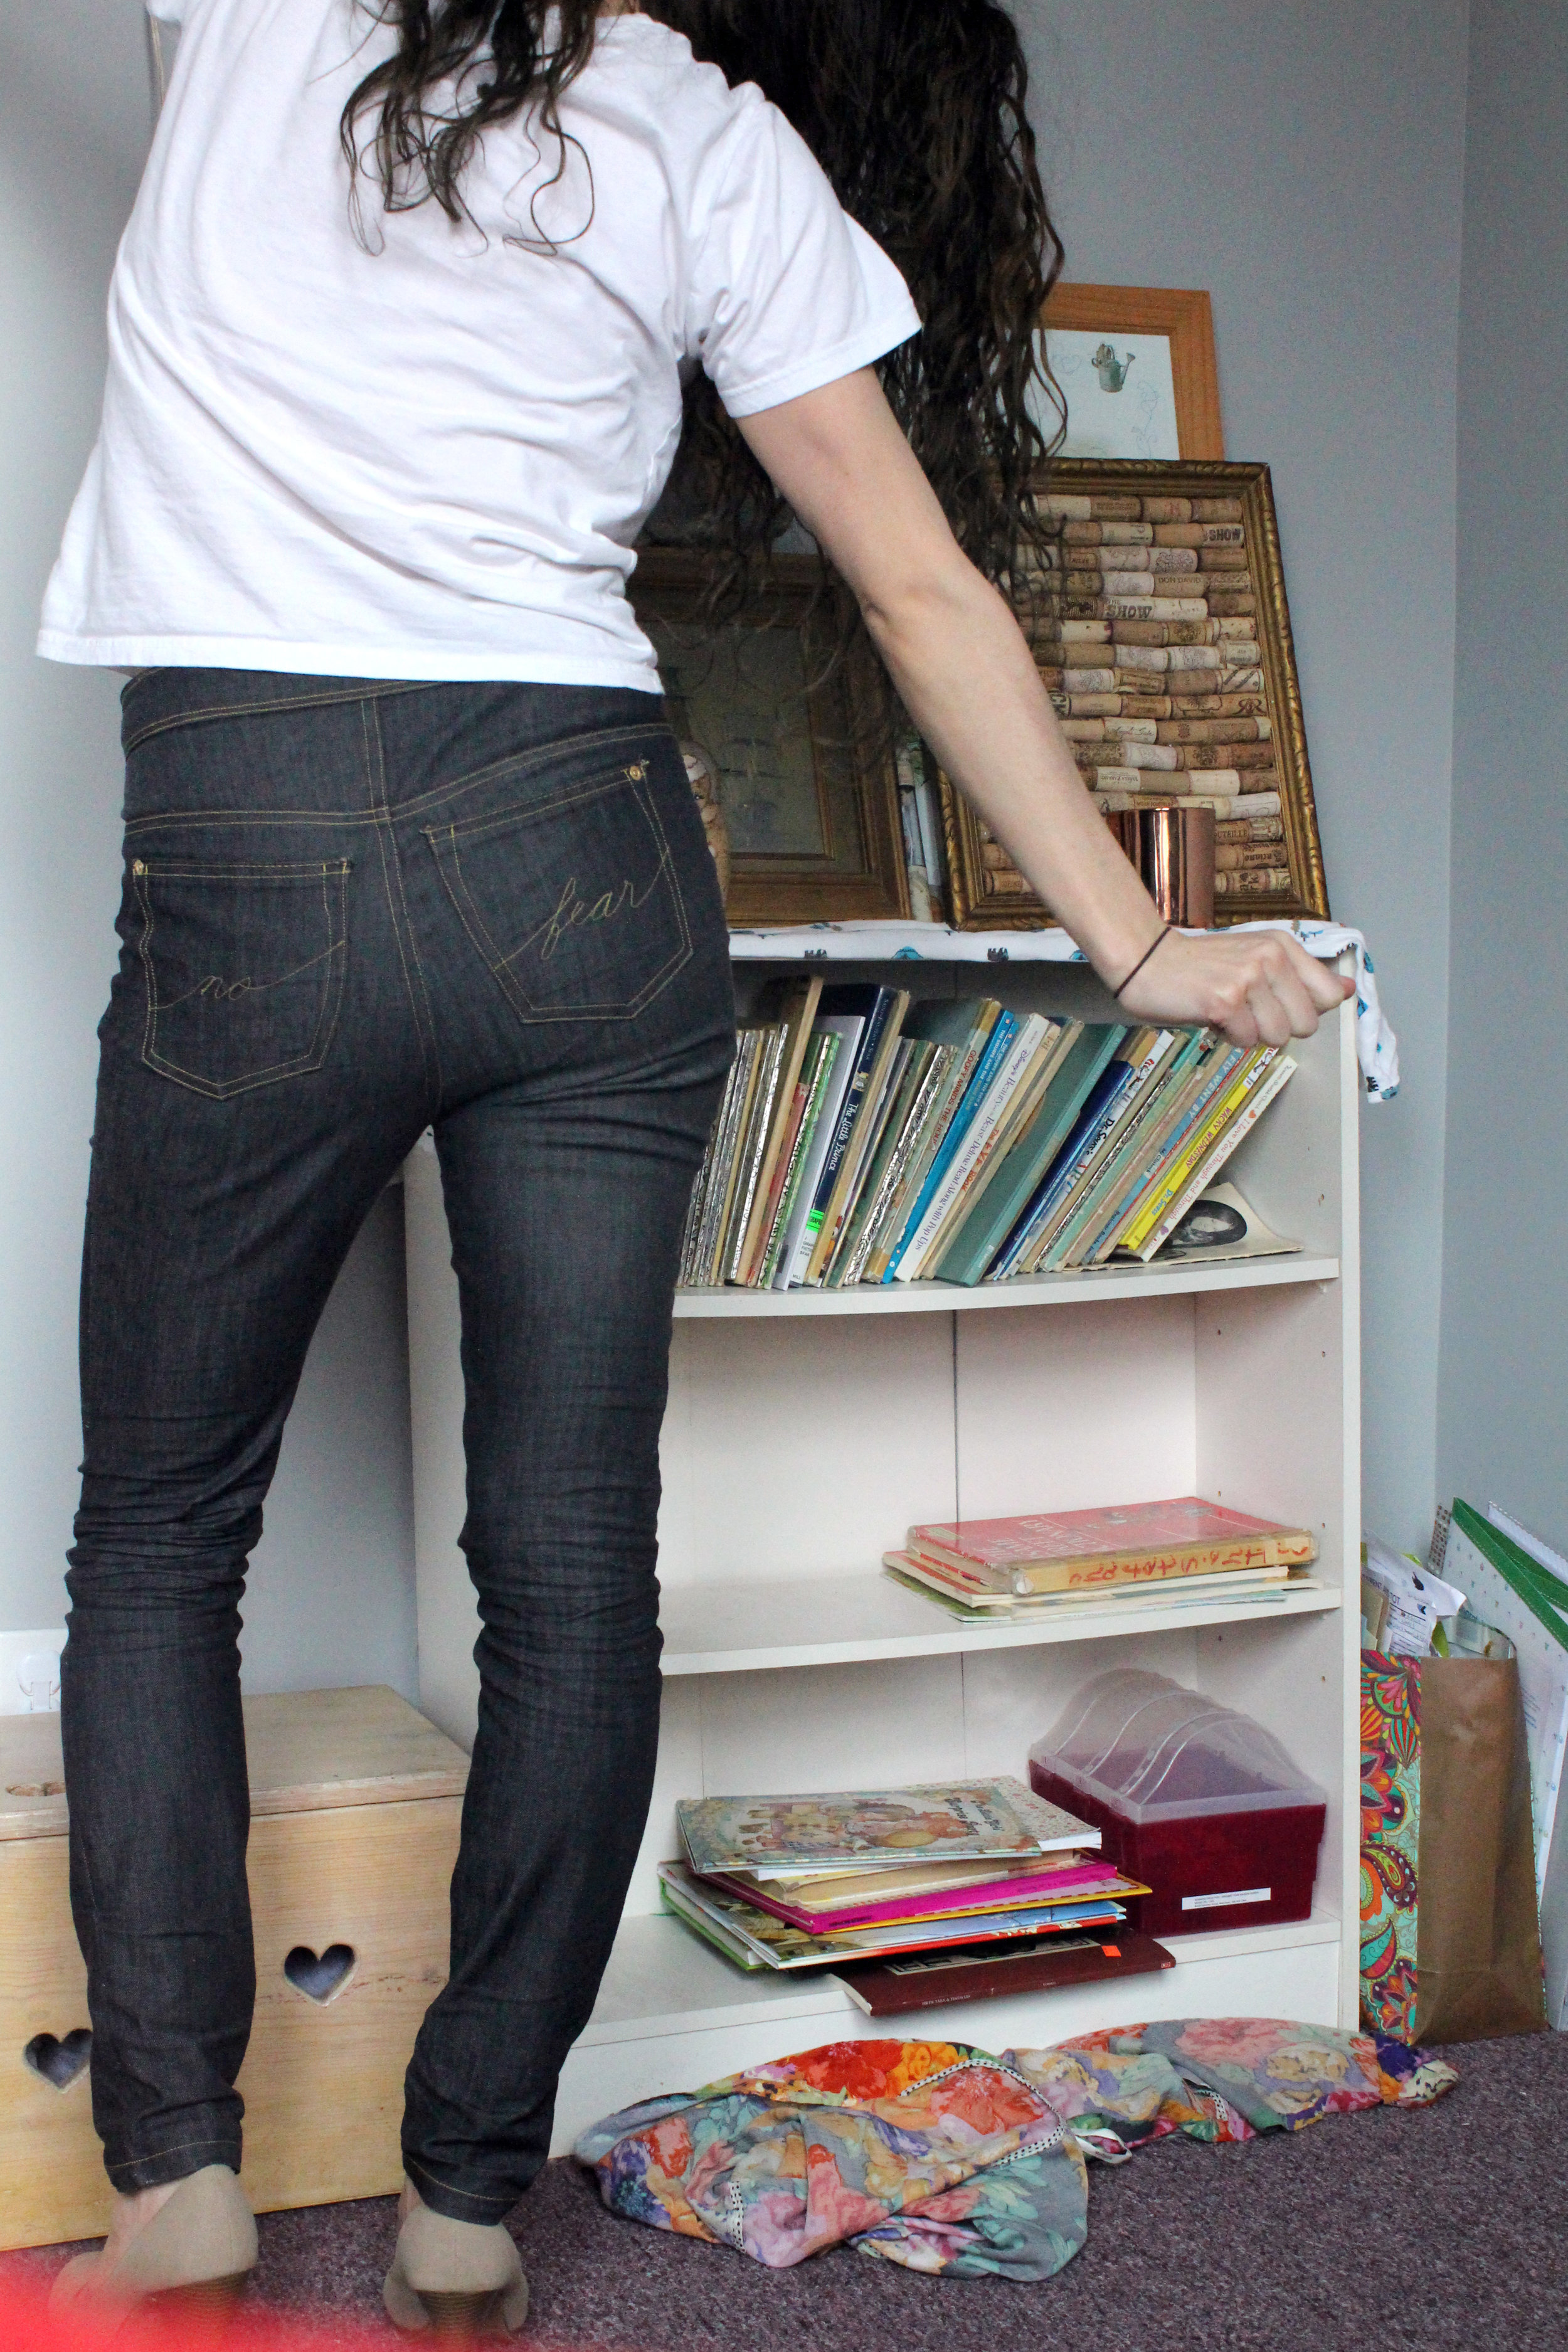
After that, the backs were a comparative breeze to assemble. Shortly after deciding to make jeans, I decided that writing "no fear" on the butt was gonna be my tribute to #nofearnewjeans and thus i set about designing and freehand topstitching said sesign. Turned out great if I do say so myself (although the side stitching of the butt pockets has a big more "design feature" error to it). And a little hilarious. My butt says no fear. Hard to be too self-serious about that
see what i mean about the yoke? gotta fix that next time.
Pocket placement could be more even, but guess what? Looks fine if you don't think too hard about it. Like all of it!
I tried to flat-fell the inseams, and a few other places, with variable success. I don't have a proper clapper, but used a long chunk of untreated hardwood from a top-of-stairs gate kit, which was a touch unwieldy for the purpose.
anyone know how you keep a jeans fly from getting all foldy with wear? it always happens to mine.
I missed the inner waistband (which I did in self fabric to maintain a bit of stretch) (I also used knit interfacing as recommended) when topstitching it on, so I just did a second row of topstitching and I love the look of that. And I slit the stitches a touch on the jeans buttonhole, but a little clear nailpolish and it was fine, and I was just proud of my automatic buttonholer for doing such a nice job with all that waistband fabric. Which is to say, all was going smoothly until hardware.
I could not. Get. That. Button on. Tears ensued, as I was this close to finishing, but didn't want to hem until I'd actually tried these fuckers on. And a button is rather important for getting that true fit. I just wanted to wear my jeans.
I tried two buttons. My partner tried two buttons. We broke four buttons. Which was all the buttons (from my two hardware kits from Closet Case). The next day, Matthew graciously got me ONE BUTTON from a seamstress downtown who only had one that would match my hardware, so we held our breaths and tried it and it went perfectly. I almost cried again for delight. I did not take a process photo of this because I found it too upsetting.
And then I hemmed em and tada, my first homemade jeans! The end. Making jeans rules.
Pattern: High waisted Ginger Jeans by Closet Case
Size: uhhhh... hard to say.
Fabric: Cone Mills S-Gene in Black
If there is a next time: (Which there will be). Have to add back a 1/4 inch in the hips to accommodate pocket stay tightness, as I ended up doing. Get a clapper properly finished before I do the next set. Take in curve of waistband and yoke further. Be extra careful to avoid jean twist, which is happening in gone leg. Move inseam back maybe a 1/4 inch. DO A BASTE TEST AGAIN BEFORE SEWING UP NO MATTER HOW TEMPTED YOU ARE TO SKIP THIS.


