The Freesewing Simon
Making this shirt was a real treat. Not to say there weren’t speedbumps, but the whole process was educational - a proper men’s shirt is a really wonderful thing and I could see endless avenues for improvement/ experimentation. I also now constantly stare at men’s backs. Was that yoke cut on the bias? How about the placket, how’s that attached? What is the point of that hang tab thing? Oooh, back darts! Topstitching! and so on.
I think around Christmas 2017, I took all of my youngest brother’s measurements to play around with Freesewing.org. This project is wonderful, and allows you to generate made-to-measure patterns. Then other projects happened.
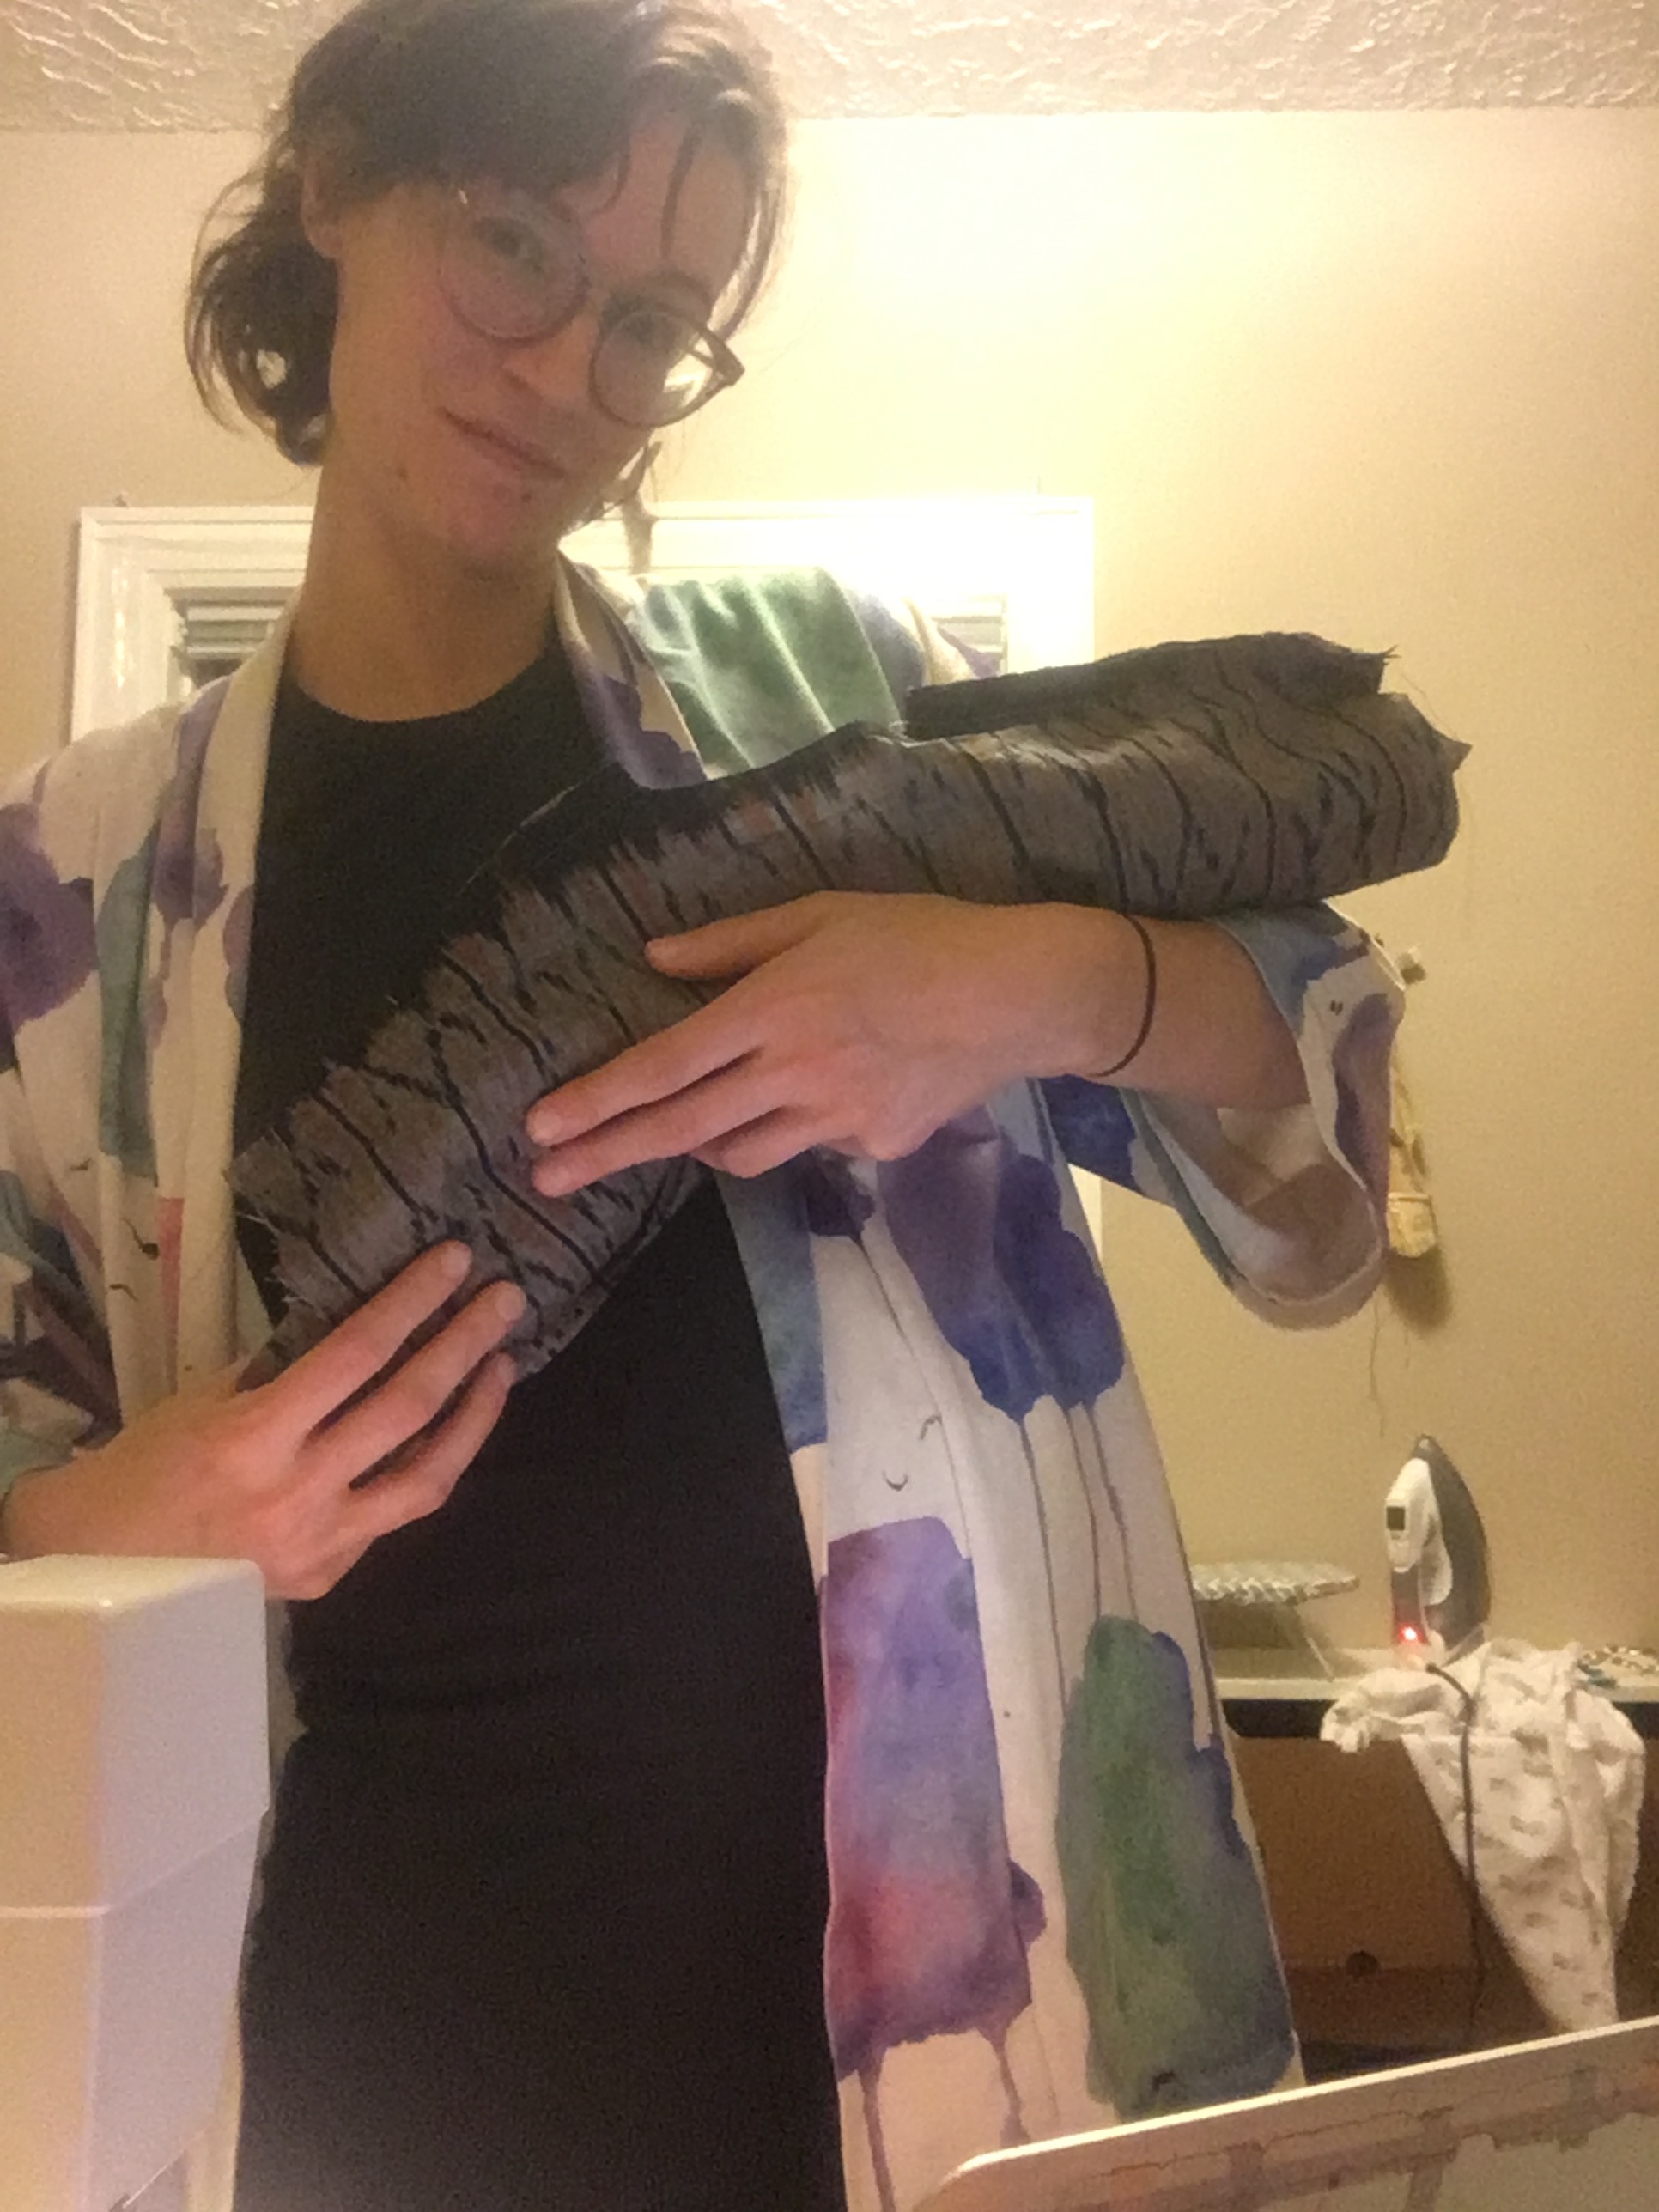
When I made the batik robe for Sean, he also gave me this lovely ikat. I pictured making a Kalle for myself, but when I eventually decided that the best way to play with freesewing.org would be to make a shirt from its draft for my brother for Christmas, it got re-upped on the to-odo list. There was some guessing involved in terms of “is this enough fabric?” and subsequent careful laying out of pattern to check, but luckily for me I don’t much care about pattern matching so I was able to squeeze the shirt out of the 2m of ikat I had.
Now, my brother has some extremely sloping shoulders, which made me quite nervous about the draft. Check it out:
The draft for Lucas’s measurements is the grey, while standard sizes are shown in the colourful outlines. This tool is really handy for checking that things aren’t wildly out of line, but it’s also a little nerve wracking when your intended clothing-owner is far away and not going to retake measurements. Because Lucas does have quite sloping shoulders due to exercise and injuries, I went with it. He’s also 5’11, so the short length worried me a bit, but I compared against my husband’s RTW and decided to trust it. The final result doesn’t hang super nicely on a hanger, since it’s so sloped, but it fits him great! (You can see all the details here)
This pattern is drafted for flat-felling, but I had set my seam allowances to 5/8 to accomodate flat felling anyway, so I cut off the additional edges where the draft had added space. Of course I didn’t do this until I’d already cut out the pieces as drafted, so that was some fun bonus work. I also smoothed out the sides of the front and back pattern pieces, and mentioned that they had some wobbliness in the Freesewing chat room. That group is super helpful/accomodating/interested in hearing what needs tweaking.
The first part of assembly was very fun for me — I’d never done a burrito roll yoke before, but had read about em lots in the last year, so I was very eager to try it out for real! And I love a clean interior finish.
The other major snag in the assembly came with my choice of a baseball hem, which leaves you with a tiny bit of un-enclosed seam at the side seams, which bothered me given how lovely all the rest of the interior was. The Freesewing folks tried to explain a shirt gusset to me, and I ended up making my attempt at a diamond/ foldover one… I have ideas for next time. It’s an interesting problem - elegantly covering this tiny bit of hem without distorting the hem at all. I did distort the hem a bit, but the finish is clean and the distortion isn’t ruinous.
My sleeve plackets aren’t perfect on this one, but I am pleased with how the pattern layout worked, and now that I’ve seen the construction, it should go well/better in future. Speaking of pattern layout, the hem manages to give a peek at the pretty switch-to-black selvedge, which makes for a neat effect.
One thing you have to love about freesewing is it makes it simple to get the details you want - french cuff, barrel cuff, cut-on placket, etc… it’s all just a setting to have it drafted.
I used my mom’s machine for the buttons and holes, which went a dream. Convenient, since I put off adding them til I was at her house on Xmas eve. Actually remembered to use fray check for once, as well. The buttons themselves were scavenged from my husband’s shirt…
As I said, the shirt fits beautifully, which I of course was worried about with the strange shoulder slope. But I asked my brother to send me photos of it on him, and this one was all I got, so you’ll have to take my word for it!
Pattern: Freesewing Simon
Fabric: Indonesian ikat, gifted
If there is a next time: Excited to try this tool out again. Need to take my time on collars. Investigate hem gussets further, too.


